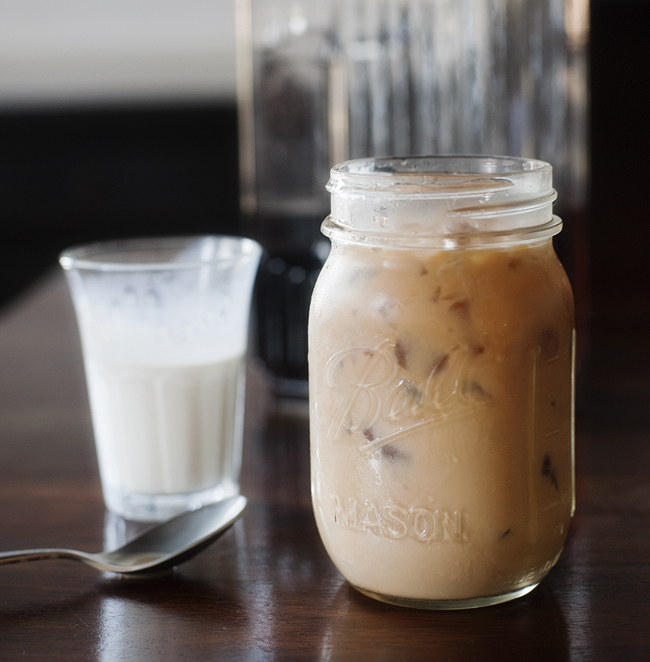
 There are few things in this world that I enjoy more than coffee. The smell, the feel, the taste, the smell (seriously, we all know it’s about the smell more than anything else). Most of the time I prefer a hot cup of coffee but if we are traveling and it’s steamy outside I go for iced. It’s always so creamy, smooth and luscious – how on earth do they do that? In the last 10 years I have haphazardly tried to make my own iced version which could only be described as watered down and boring. I naively thought one would simply brew their regular coffee, allow it to come to room temp and then pour it in a glass filled with ice. I could not have been more wrong if I tried. Thank goodness for Pinterest, The Pioneer Woman and this blog because if it weren’t for those three things I may not ever know the pure bliss of having luxurious iced coffee in the comfort of my own home.
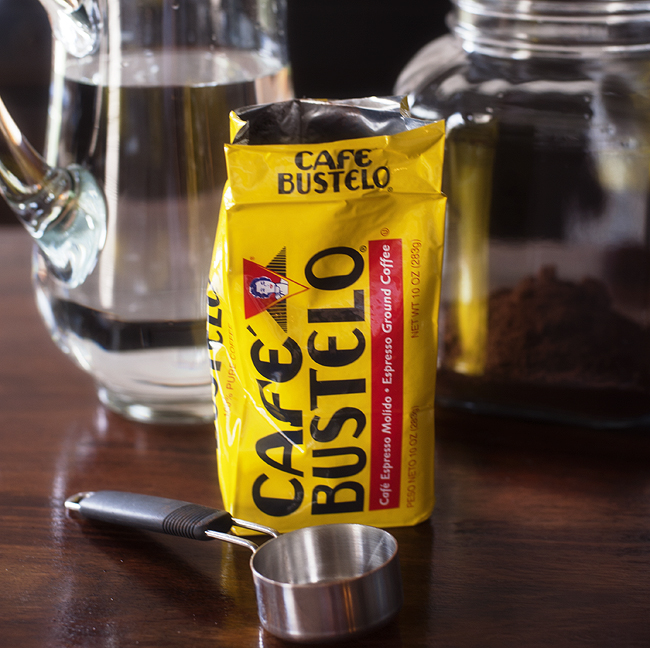 We are a french press household which means we purchase our beans whole. This recipe calls for ground so I decided to purchase a bag instead of torturing my dog with the unending hum of the coffee grinder (he is also scared of the vacuum, which I don’t use often to spare him of course).
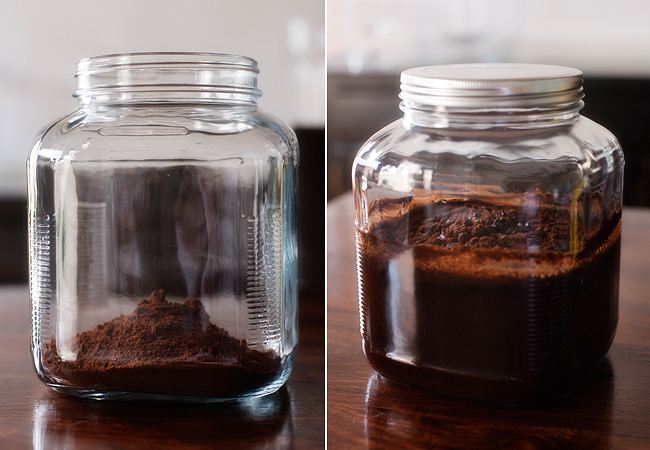 You’ll need a large container with a lid to hold your delicious brew. I’d be lying if I didn’t say I sniffed the jar repeatedly before closing the lid. (Just one more hit. And another. This is the last one, I swear.)
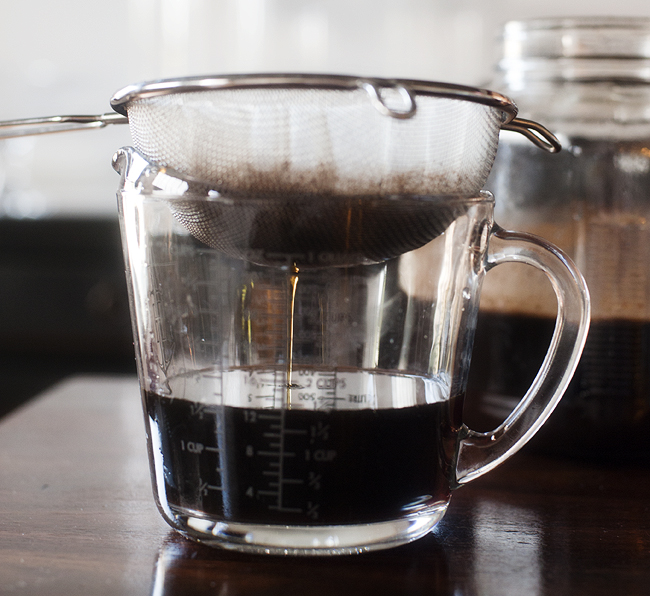 The original recipe calls for cheesecloth. Trying to find cheesecloth at Walmart is basically like trying to find an ice cube on the surface of the sun. I am sure a true coffee snob would turn up their nose at my alternative of the coffee filter but it did the job and my coffee tasted fantastic.
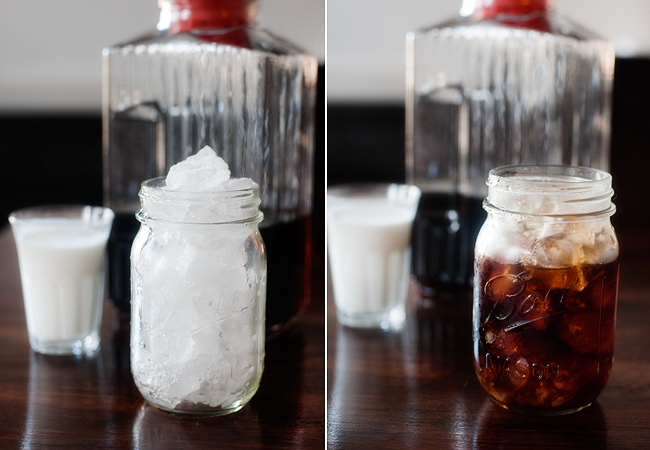 Unfortunately you have to wait at least 8 hours to take your first sip of iced heaven. This gives you plenty of time though to decide on your favorite glass, ice, creamer and/or sweetener. When filling your glass do not forget to leave room for the yummy extras (you know, the other half of the reason iced coffee is so very good).
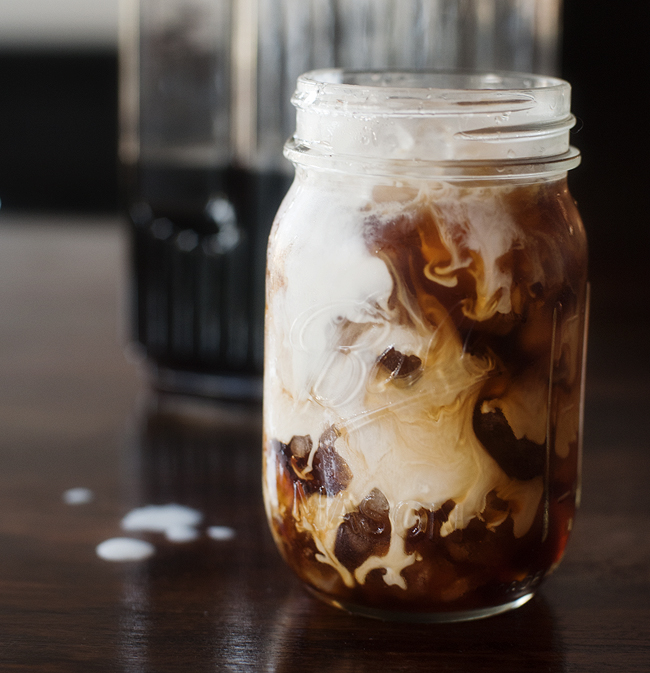 When it comes to creamer I rarely sway from plain old half & half. The way it cascades down the ice cubes like a volcano slowly oozing rich deliciousness is mesmerizing. What hot coffee has in the warm feel of holding it, iced coffee has in special effects.
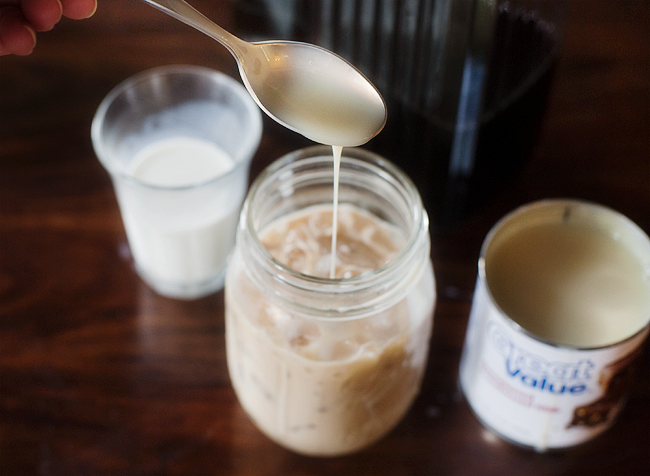 And then I did this. And smiled. A lot. Ree suggests something I have never put in coffee before – sweetened condensed milk (insert guilt here). If there was a law against eating sinful things I would be in a jail cell as we speak. I’d be grinning with satisfaction but I’d be in there for sure. The coffee with just the half & half was incredibly good but this sent it to an entirely new level of velvety, not too sweet, icy perfection. It’s a must try.
- 1¼ Cup Ground Coffee (good, Rich Roast)
- 2 quarts Cold Water
- Half-and-half (healthy Splash Per Serving)
- Sweetened Condensed Milk (2-3 Tablespoons Per Serving)
- In a large container (with an airtight lid), mix ground coffee with water. Stir mixture well to make sure all grounds have made contact with water. Cover and allow to sit at room temperature eight hours or overnight.
- Line a fine mesh strainer with a coffee filter and set over a pitcher or other container that has an airtight lid. Pour coffee/water mixture through the strainer, allowing all liquid to run through. Use back of spoon to aid in squeezing at every last drop of liquid. Discard grounds.
- Place coffee liquid in the fridge and allow to cool. Use as needed (brew will keep in the fridge for at least 2 weeks, some say longer).
- To make iced coffee, pack a glass full of ice cubes. Fill glass ⅔ full with coffee liquid. Add healthy splash of half-and-half. Add 2-3 tablespoons sweetened condensed milk and stir to combine. Taste and adjust half-and-half and/or sweetened condensed milk as needed.
recipe from the pioneer woman
Cheers to the weekend, iced coffee and sinful sweeteners!