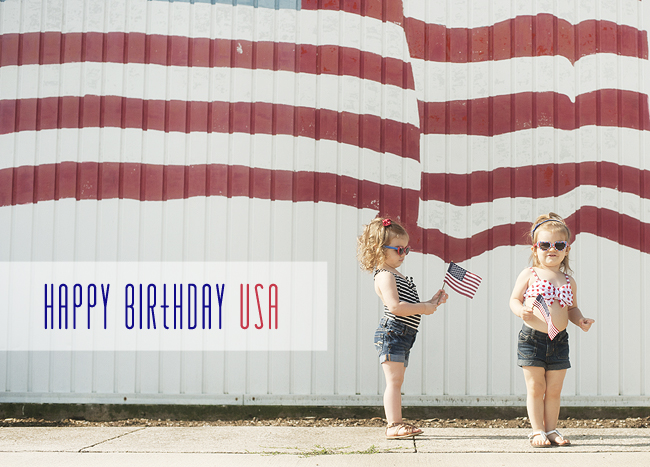
 The 4th of July is here and we are ready to celebrate! Wishing you a safe and fun-filled long weekend!


The 4th of July is here and we are ready to celebrate! Wishing you a safe and fun-filled long weekend!
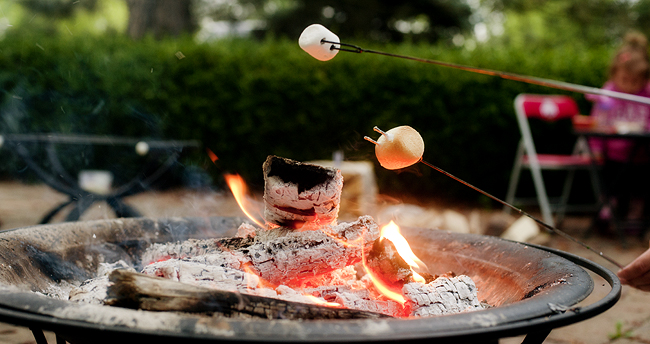
I know, I know. If its not broke, don’t fix it. S’mores have evolved into what feels like a phenomenon lately. Cakes, cookies, pies- you name it it comes in “S’more”. It makes sense, who doesn’t love an old fashioned s’more? (Well, apparently Sticky doesn’t- but I am still not sure I believe him…) We kicked these up a notch by adding some of our favorite goodies from around the kitchen- and honestly, they kicked the normal s’mores booty.
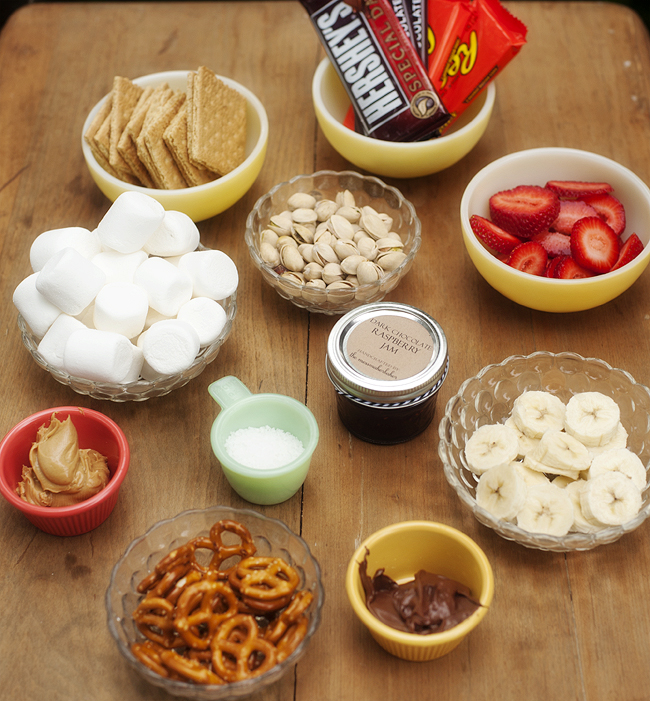
gourmet s Ingredients
dark chocolate raspberry jam from Guest Jane Vicki of the messmakerbaker
I am convinced that there are few things that aren’t good on graham with a toasted marshmallow, but here are the combo’s that we tested and loved most.
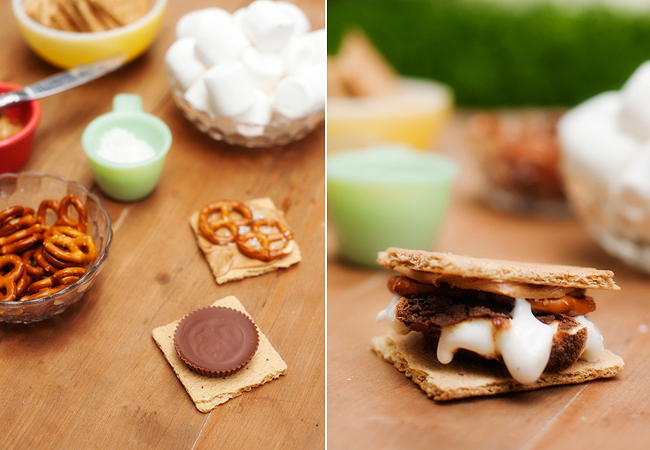 1. The Peanut Butter Cup- Sea Salt- Pretzel Smore
To create: Prepare grahams by spreading a layer of peanut butter on one graham, sprinkling it with coarse sea salt, and layering on the pretzels. Place Reese’s cup on the other graham. Once toasted, place your marshmallow on top of the peanut butter cup, and then top with the prepared graham.
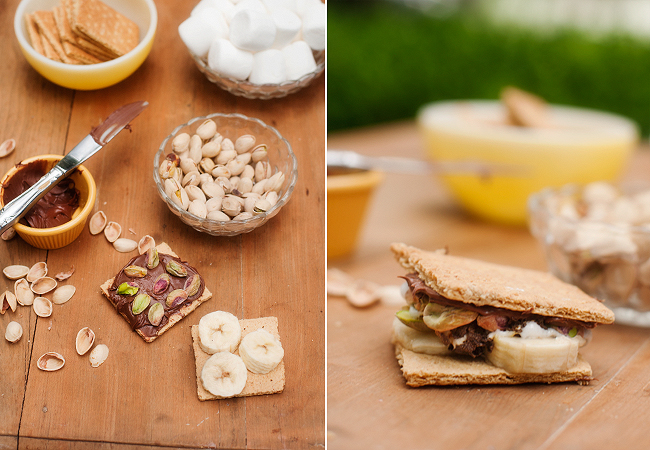 2. The Nutella- Pistachio- Banana Smore
To create: Spread Nutella and shelled pistachios on one graham, and sliced bananas on the other. Fill with toasted marshmallow and enjoy.
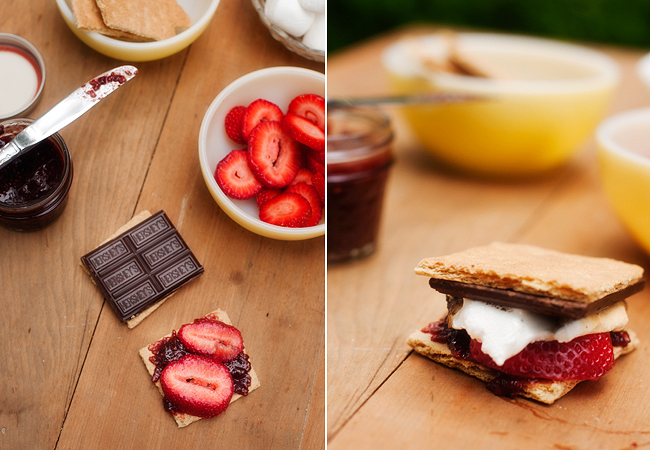 3. Dark Chocolate- Strawberry- Chocolate Raspberry Jam Smore
To Create: Spread jam on graham and top with sliced strawberries. Prepare dark chocolate on the opposite graham- and sandwich a toasted marshmallow between the two. This combo was unanimously our favorite!
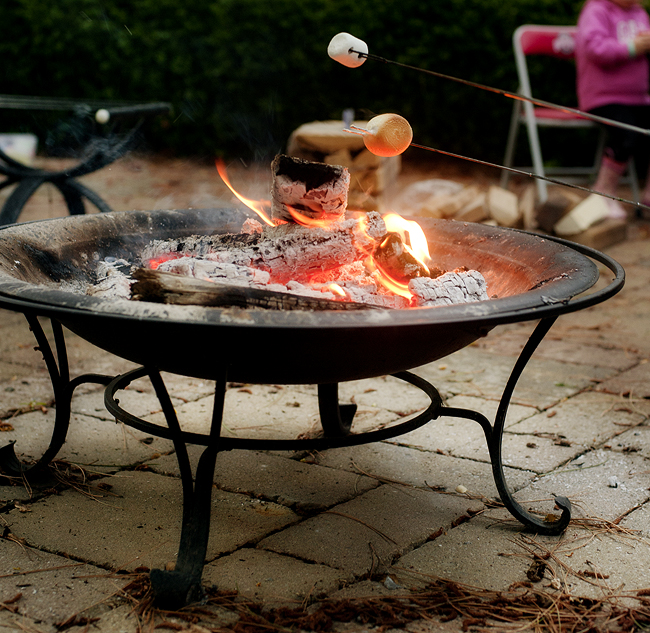
 These sweet rainboot-clad babes had their very first s’mores, along with their very first firefly catching all in one night. While we are toasting marshmallows they are usually giggling in the grass somewhere, off in their own little world. When summer rolls out, we sure will miss these nights of sitting around the fire, and the sound of those little giggles.
![]()
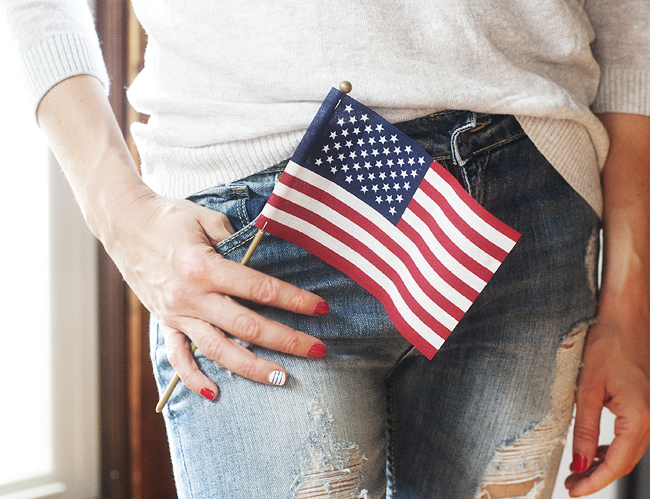 Ok, so you have your cocktail, dessert and accessory – now it’s time for your 4th of July nails. First off I should admit this is probably the only time I have had color on my fingernails in over 10 years (which is longer than I have known my husband). I really love nail polish on other women – particularly the ones with cute nails and graceful hands. Unfortunately I do not fall into either one of those categories. When I was in high school it dawned on me that my hand twin is Martha Stewart, this is not a good thing considering she has 35+ years on me. So here is my festive nail tutorial on my advanced aging hands, don’t be surprised if it’s my last.
 You will need:
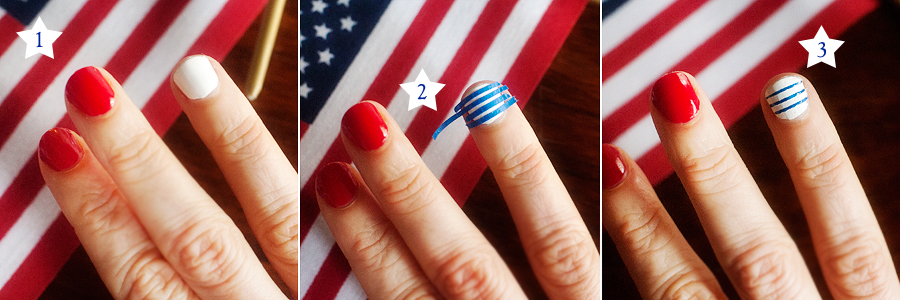
Sky is the limit as far as how many stripes, which direction they go (vertical, horizontal, diagonal) and color combination. While I am not a fan of drawing attention to my hands I have to admit that this was a lot of fun to do. We’d love to see your nail art for the 4th as well! Load it to instagram and tag #prettyplainjanes so we can admire your work (and your pretty hands).

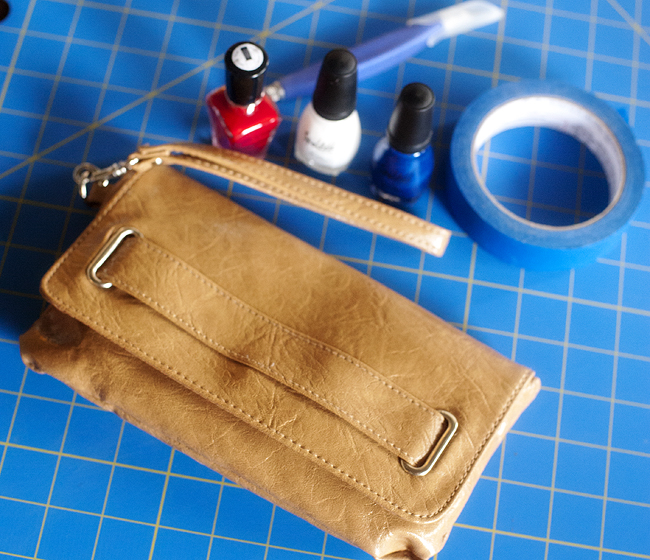
 If you are looking to be festive for the 4th but not dressed head to toe in red, white and blue this is the DIY for you. There is still plenty of time to complete this before Thursday as well. Start to finish I did not even have 30 minutes in it. As for supplies my $5 clutch came from a discount store and I used nail polish for the paint (which of course will serve double duty on my nails very soon). Simple, inexpensive and incredibly cute – what’s not to love?
 DIY 4th of July Clutch
Supplies:
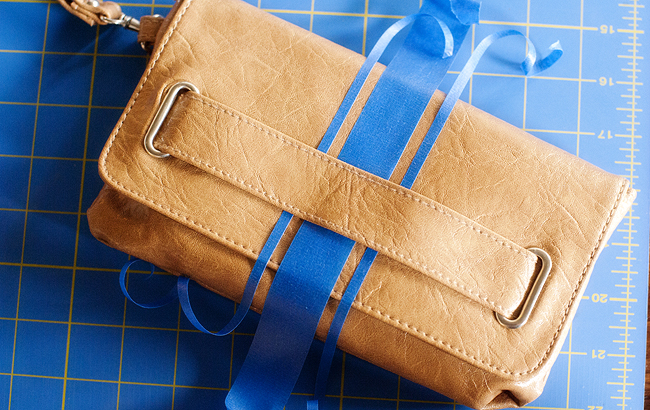

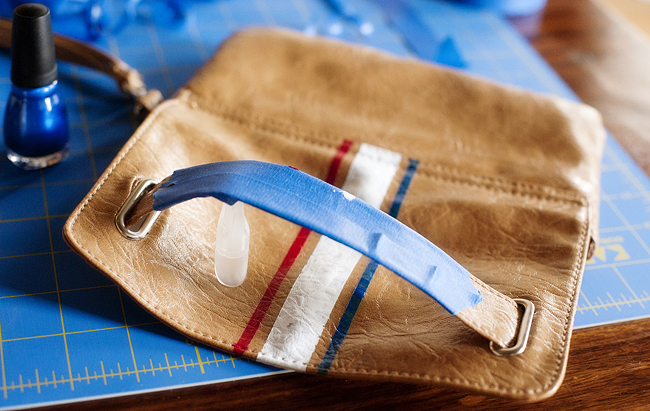
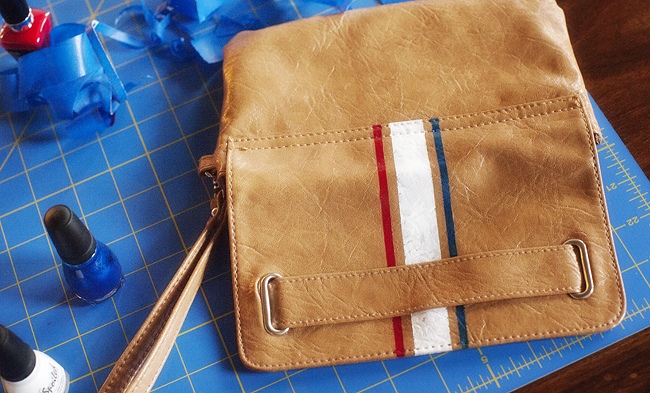 Process:
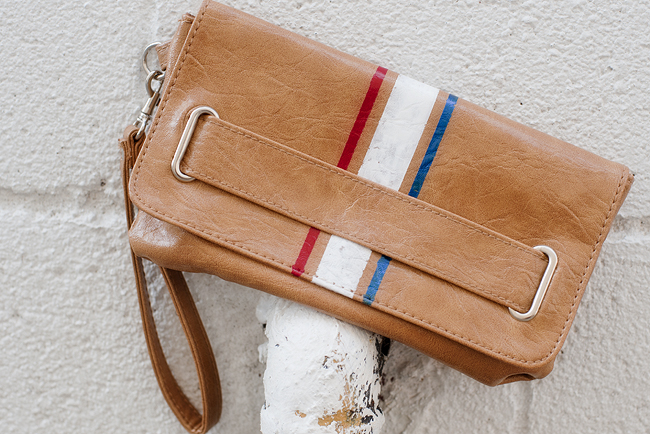
 Try this once and you will not only feel like super DIY woman but will want to purchase a dozen more clutches and color block them in all your nail polishes. I am thinking a neon pink design may be in my future, as well as black of course (you guys know how I love my neutrals). For this holiday though I could not be more pleased with my red, white and blue design. This clutch will take any relatively simple ensemble to festive ready in a flash.
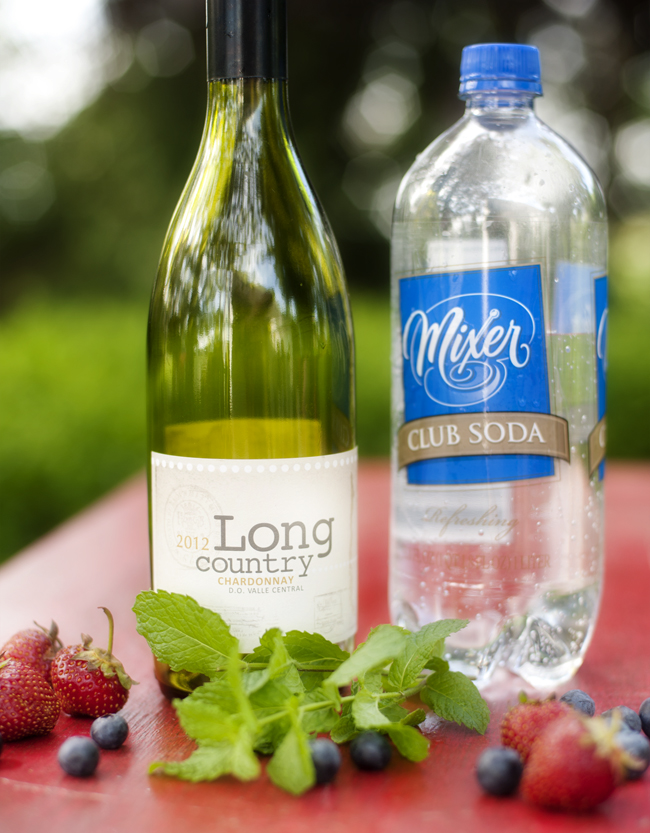
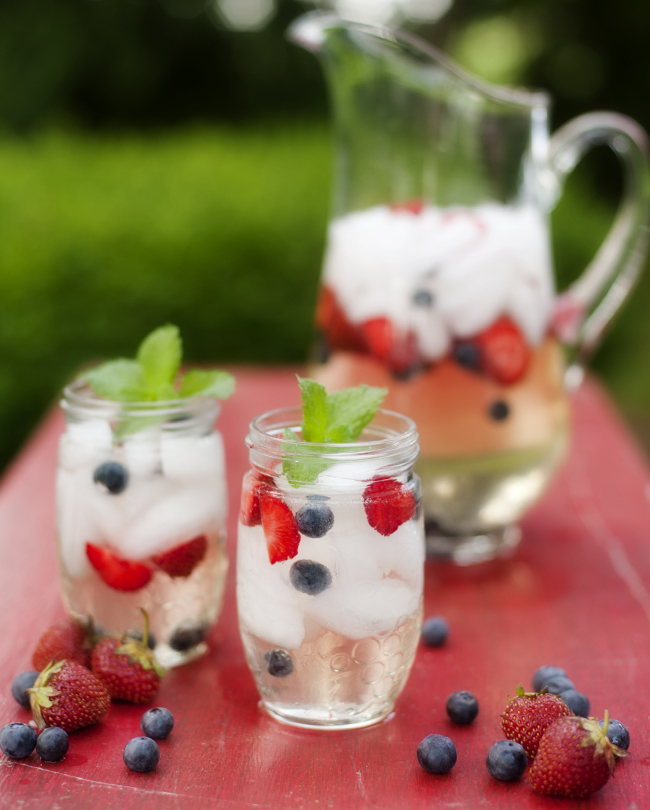 Whenever I hear someone say “we’re having wine spritzers” my wine snob siren goes off. Seems like a good way to ruin a perfectly fine bottle of wine by sweetening it. But then I got to thinking about all the times I have enjoyed sangria, limoncello, mimosas or bellinis – all wine that is made a tad sweeter with fruit or sugar. And what if all one has is a crappy bottle of white wine to drink? Makes sense to mix it into a refreshing bubbly drink. I am hear to admit I was wrong about the spritzer. Apologies to all the spritzer fans out there. Next time I will happily clink a glass with you as opposed to crinkling my nose.
recipe adapted from City Farmhouse

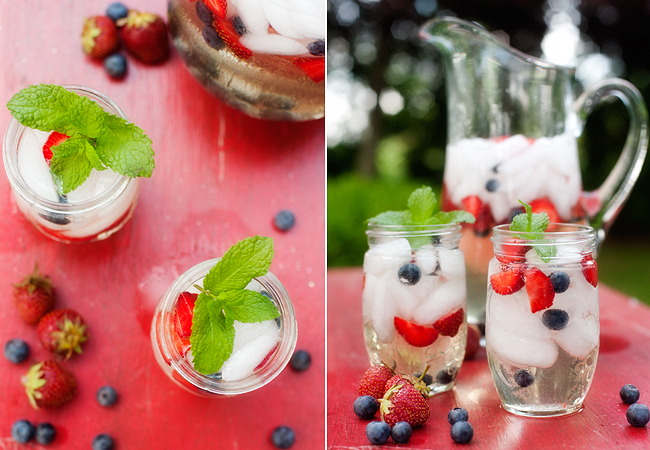 This is a light and refreshing “be careful because it’s easy to suck down quickly” concoction. There is also not much fuss in making it which the hostess in me really appreciates. Of course you can enjoy this anytime of the year but next week in particular it will be ideal for the occasion. Cheers to fireworks, independence and the acceptance of the wine spritzer.