
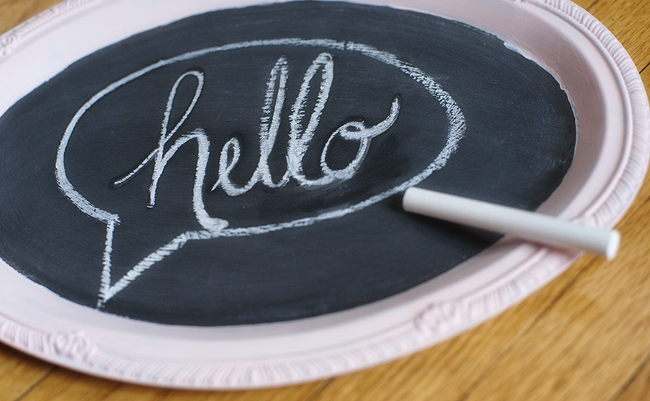
I’m not sure when chalkboards became all the rage- but I stand guilty of loving them with the rest of the world. They are so versatile, fun, and easy to make! I’ve been itching to turn something into a chalkboard and when I came across this pretty little dollar store tray, it was screaming “TURN ME INTO A CHALKBOARD!”. Okay, not really… but you know what I mean.
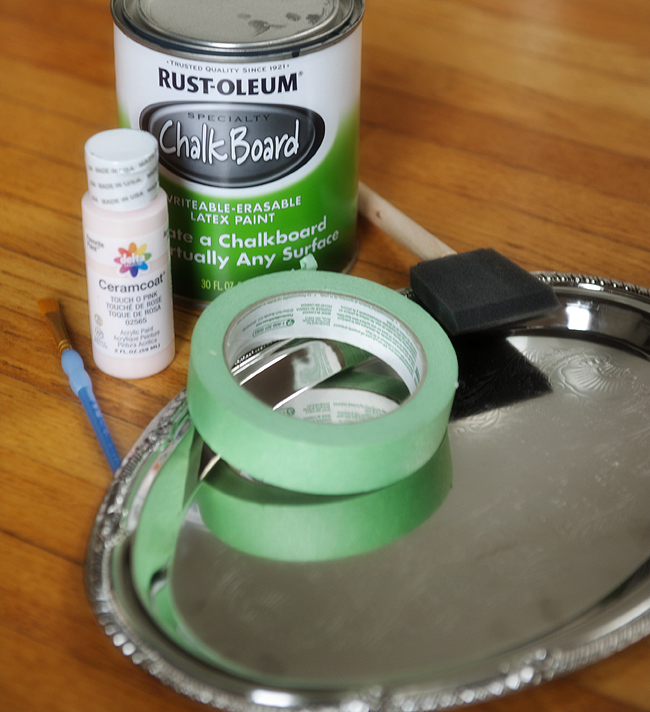
Here is what you will need:
- a silver tray (I found this one at Dollar Tree!)
- chalkboard paint (actual paint, not the spray paint version!)
- craft paint in any color
- a sponge-paint applicator
- an angled paintbrush
- painters tape (optional, if you are messy)
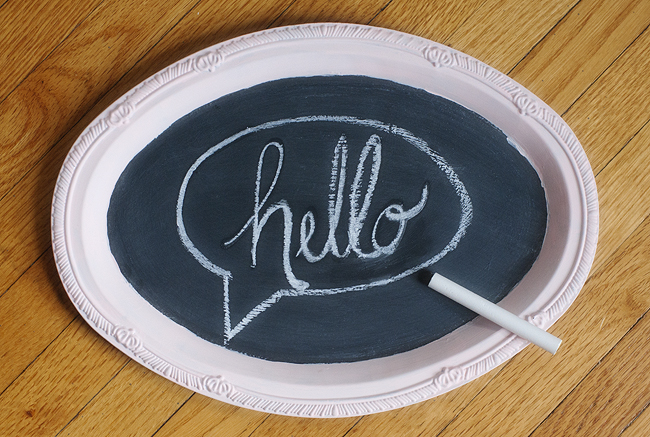
I started by painting the chalkboard section, and it needed about 3 to 4 layers. Be sure to let each layer dry completely before painting the next. Once you are happy with the appearance, let dry for a full 24 hours before applying any chalk or painters tape! Once dry, use an angled brush to pain around the frame.
I was looking for something to use as a little space to leave notes for Josh in the morning, so I added a magnet to the back using a hot glue gun- and voila!- it became a perfectly sized refrigerator chalkboard!
A few tips for diy chalkboards and applying chalk:
- Before using your chalkboard (once the 24 hours is complete) be sure to prep your board by flipping your chalk the long way and rubbing it completely over the surface. Erase, and you are free to begin normal use! This protects it from “staining” when you use it the first couple of times.
- Use a proper eraser or dry washcloth. Do not use any kind of cleaning solution on the board that is not approved for use on chalkboards.
- To get the chalk to appear really bold, dip it in water before writing. It will look very light as you are writing but will brighten as it dries.
- A paintbrush or q-tip dipped in water will fix any mistakes you make along the way without having to completely erase.
- Love what you created? Spray an even layer of hairspray over your finished image/ text to help it last without smudging or fading. (Yeah, I know right. Hairspray!)
Happy painting!
![]()


Pingback: 15 Easy DIY Projects That Will Transform Your Dorm For Cheap - Blue-prynt
Pingback: 15 Easy DIY Projects That Will Transform Your Dorm Room - Blue-prynt
Pingback: 16 Easy DIY Projects That Will Transform Your Dorm Room