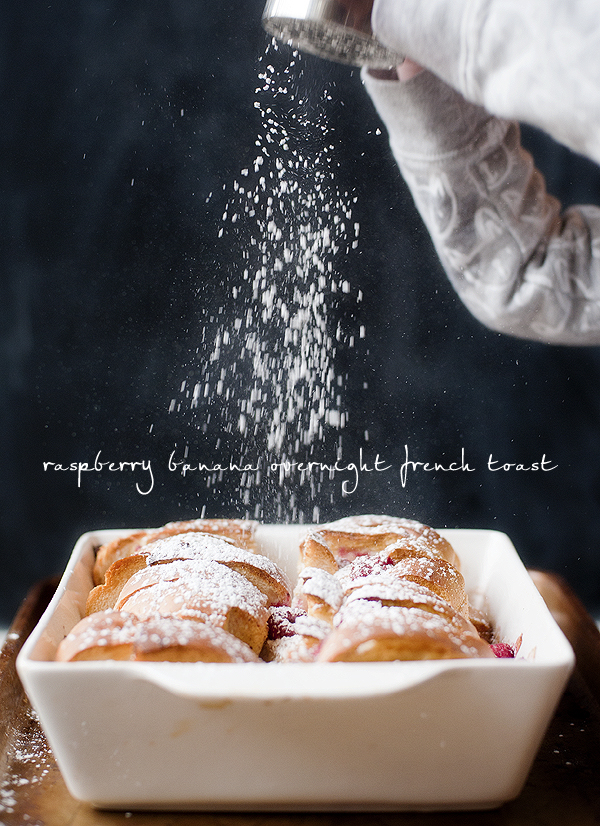
raspberry banana overnight French Toast

Raspberry Banana French ToastThere is just something about golden bread covered in a dusting of powdered sugar. It’s an instant warm fuzzy feeling sort of dish. I live for these kind of weekend breakfasts. They are meant to be taken slowly, with lots of coffee and a whole bunch of love. There are very few things much better than that.
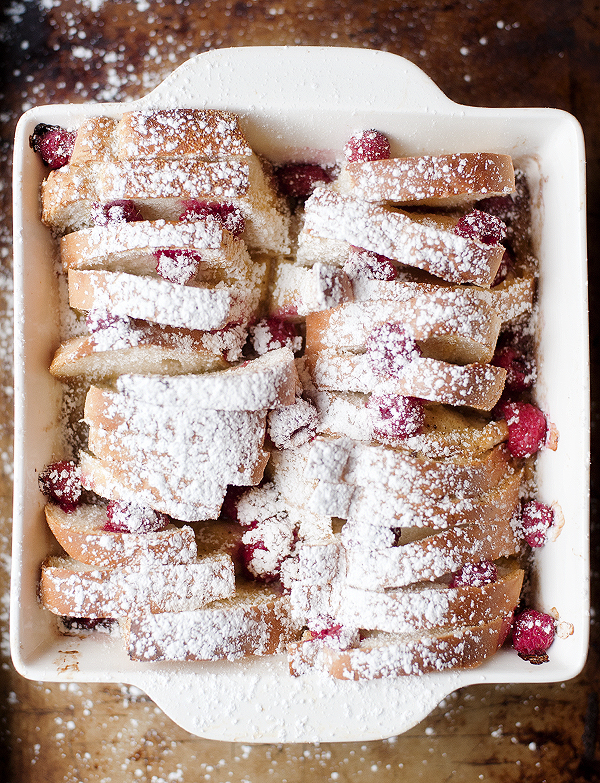
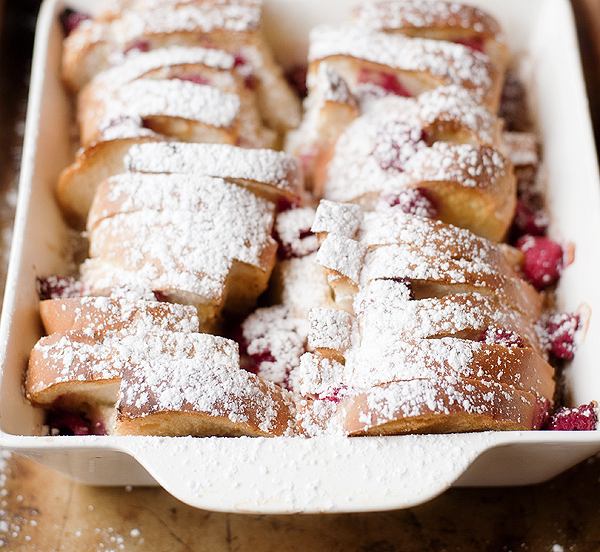
Raspberry Banana French Toast Raspberry Banana French ToastOvernight french toast can get as complicated or as simple as you would like it to be. This version is definitely on the easy side. I wanted something that required very little dirtying of dishes as well as low maintenance baking. There is no sitting for a half an hour before baking, no baking covered and then uncovered. You let this guy set while your oven comes to temp and you bake him naked until he’s golden. Simple as that!

As far as the fruit goes feel free to use what you have on hand. We happened to have bananas and raspberries, I combo I do not normally put together but oh my goodness was it divine.
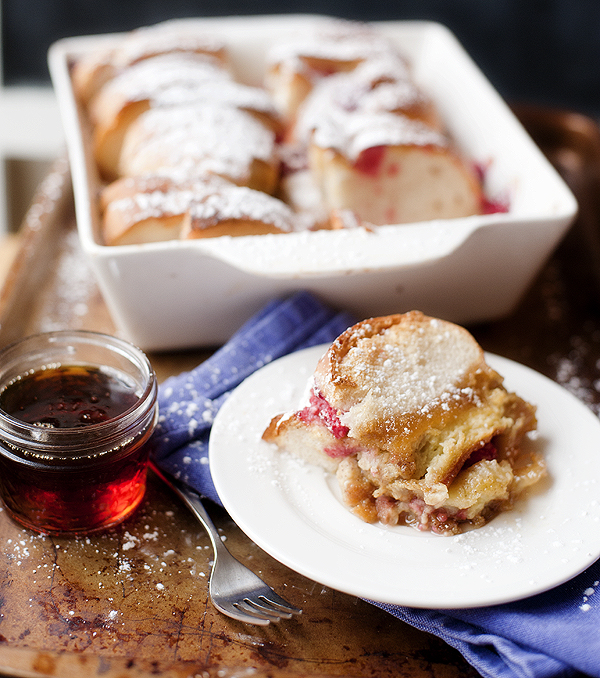
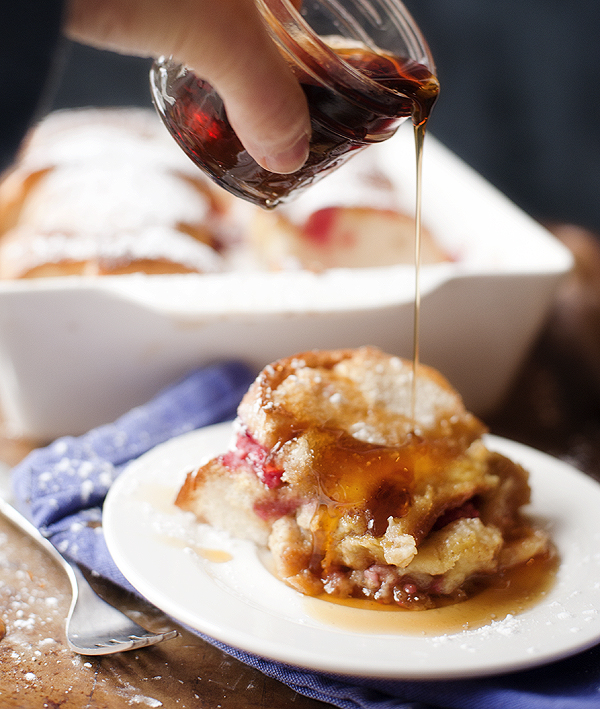
Raspberry Banana French Toast Raspberry Banana French ToastBread, fruit, sugar and more sugar…this is what delectable breakfast dreams are made of.

Enjoy!

brandyjsig


Raspberry Banana Overnight French Toast
 
Prep time
Cook time
Total time
 
Serves: 8
Ingredients
  • 3tbsp unsalted butter
  • ¾cup packed brown sugar
  • 2 large ripe bananas (or 3 medium), peeled, cut in half and then cut in half again lengthwise
  • ½ loaf french bread (day old works great) - sliced into ½" slices
  • 3large eggs
  • 1cup milk
  • 1tsp vanilla extract
  • ½tsp cinnamon
  • 1cup fresh raspberries
  • powdered sugar (optional)
Instructions
  1. In a microwave safe 8X8 inch baking dish heat butter until melted, about 30 to 45 seconds. Add the brown sugar and mix well. Press the mixture into the bottom of the baking dish. Place the bananas on top, cut side down. Layer bread on top, cut side down, into two rows or whatever fits/looks nicest.
  2. In a medium bowl whisk eggs. Add milk, vanilla and cinnamon and whisk until combined. Pour over bread as evenly as possible. Distribute raspberries all over, tucking some in between bread slices. Cover with plastic wrap and set in fridge for at least 4 hours (overnight is best).
  3. When you are ready to bake, preheat oven 350ºF. While oven is preheating take french toast our of fridge and remove plastic wrap. Allow to sit at room temperature u til ready for the oven.
  4. Bake for 30 to 45 minutes or until bread begins to turn golden on top. Let stand for 10 minutes before serving. Sprinkle powdered sugar on top if you would like. Serve with maple syrup.

 recipe adapted from Goodhouskeeping
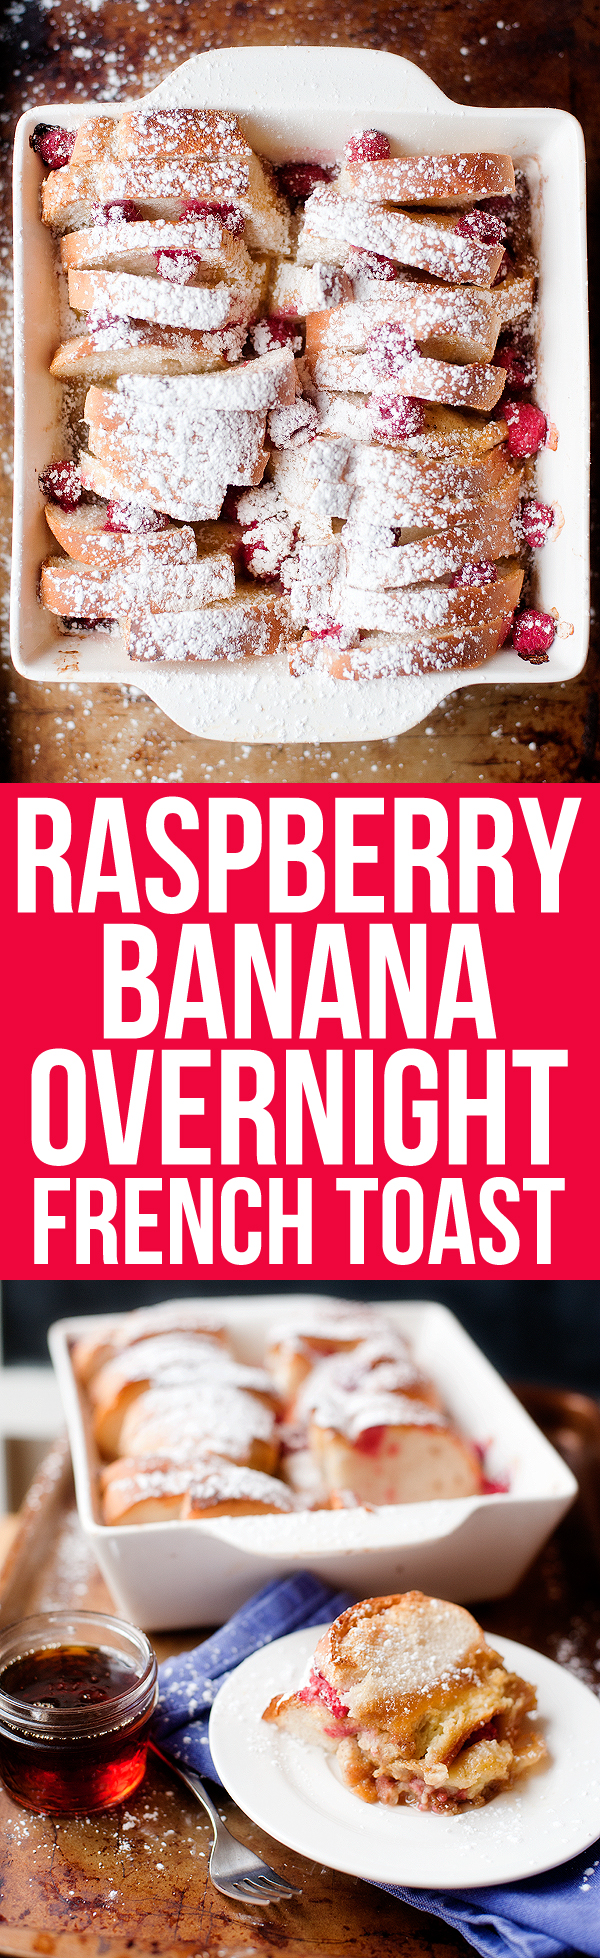
Raspberry Banana French Toast
Posted in breakfast, brunch, recipes, something sweet | Tagged | 4 Comments

diy potato yogurt mask

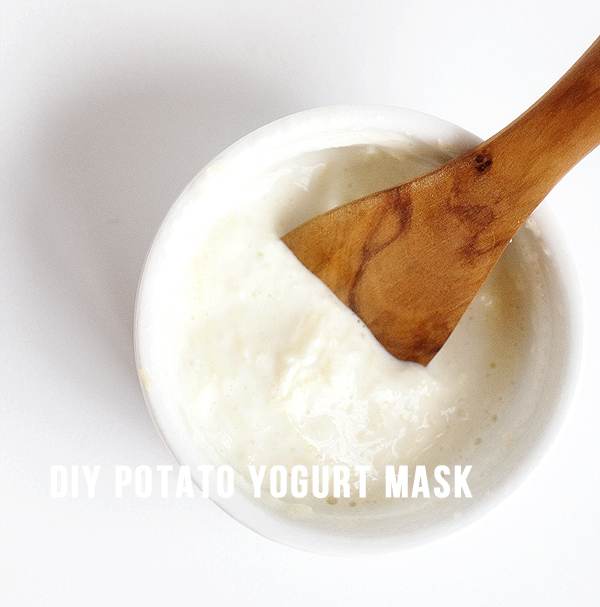
DIY Potato Yogurt MaskFor the last couple of years I have noticed a little dark spot on the outside of my eyelid. As the days have gone buy I am noticing more dark somethings and quite frankly they are not my favorite things in the world. It has been awhile since I have done an at home mask, and really I have never done one that focuses on dark spots. In my research I was thrilled to find not only an easy DIY treatment but one that contains only 2 ingredients that are mainstays in our home.

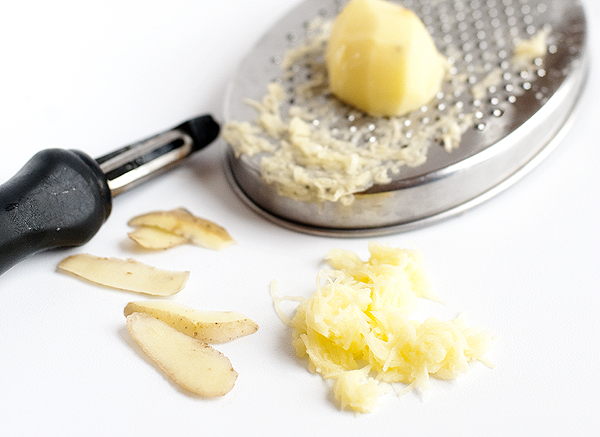
diy_potato_yogurt_mask_2I love potatoes and so does everyone else in my home. (Seriously, who doesn’t love a potato in some form or another?!) Now I love them even more finding out how many benefits there are for the skin.

Potatoes are rich in Potassium, Vitamin B6, Calcium, Magnesium and most importantly (and most abundantly) Vitamin C. These nutrients will hydrate the skin, promote new cell growth, maintain firmness and lighten dark areas.

While I have not used the mask enough to say that it works wonders on the dark spots..I will say my face feels amazing after each treatment.

Here is what you need:

  • 1/2 grated potato
  • 2tbsp of PLAIN yogurt

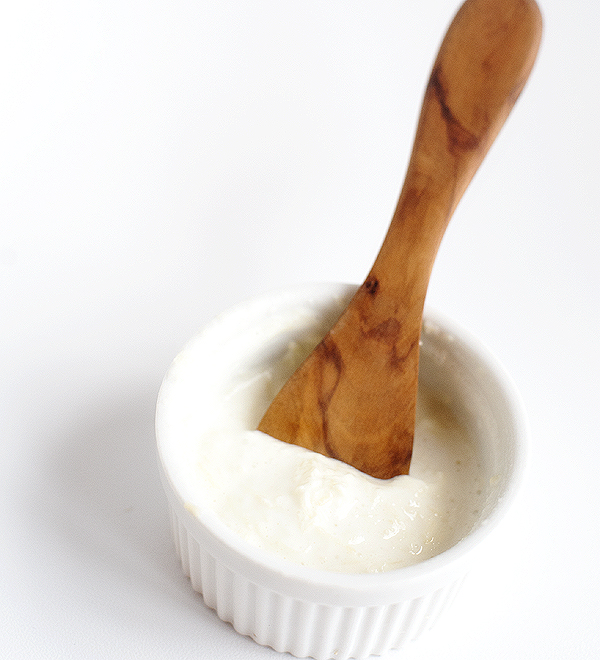
Mix the 2 ingredients together in a small bowl and apply to face, avoiding eyes and other sensitive areas. Allow to set of 15 minutes. Rinse with warm water first, and then cool, and pat dry with a clean towel. Mask must be used shortly after making due to the oxidation of the potato.

diy_potato_yogurt_mask_3If you do not have yogurt but are looking for some under eye dark circle treatment, grate a potato and squeeze the juice through a cheesecloth. Use the juice as a toner underneath your eyes. For more ways to use your potatoes on your skin check out Beauty Munsta.

I will keep you posted on how those pesky spots are doing!

xo,

brandyjsig

Posted in beauty, diy, skin | Tagged | 1 Comment

accessories to gift

If you have a wish list full of stylish women and not a clue what to gift them I am here to help! Cold weather accessories are cute, fun to wear and best off all… affordable.

Wrap a scarf around a bottle of booze, throw a gift card inside a flap glove or give as a set (scarf, hat and gloves). She will love the cozy surprise which will make you feel awesome. Win-win! Some of my favorite frigid temp accessories:

2015 Cold Weather Accessory Gifts

1H&M cashmere-blend scarf/2Target Merona cable knit flap gloves/3Forever 21 striped knee high socks/4Old Navy multi-color pom hat/5Forever 21 loose knit oblong scarf/6Gap marled lurex beanie/7H&M wool-blend knee socks/8AEO striped gloves

The best part about these gifts? If you do not find a recipient you can treat yourself!  Not that I have ever done that of course…(last Christmas…and a few of the ones before…)

xo,

brandyjsig

Posted in acessories, give a gift, style | Tagged | Leave a comment

diy bleached pine cones

DIY Bleached Pine ConesMy holiday decor is rather lacking of it’s normal grandeur this year. For one we have a toddler boy who has yet to grasp “no touch” or “only for looking” or “don’t throw” or “no, no, we don’t destroy things” or “that’s not for climbing.”  Boys… (or at least our boy, he is especially rotten.)

Secondly, I had forgotten that all my garland from last year needed relit…which takes forever. I need to force myself to do it this year otherwise come holiday 2016 and I will be in the same boat upon opening the bin to my Christmas garland. (Insert bummer face.)

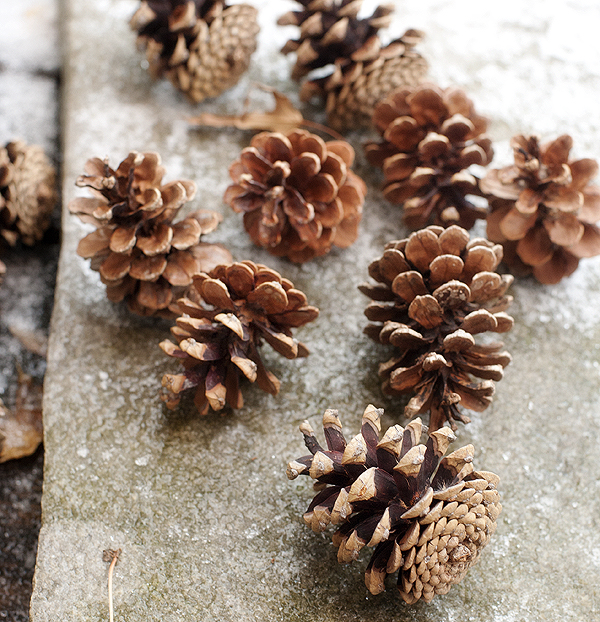
What I did manage to accomplish this year was a little DIY project that required almost zero effort. (Considering my parents collected the pine cones for me, I’d say I really got out easy with this one.) I have been wanting to add more of a natural aspect to our decor but I wanted something different. When I spied an image of bleached pine cones my “aha” button went off. They’re light. They’re fun. They’re different. Exactly what I was looking for.

Here’s the 411 on it:

Step 1 Collect as many pine cones as you would like to bleach. (And get someone else to do it for you like me!)

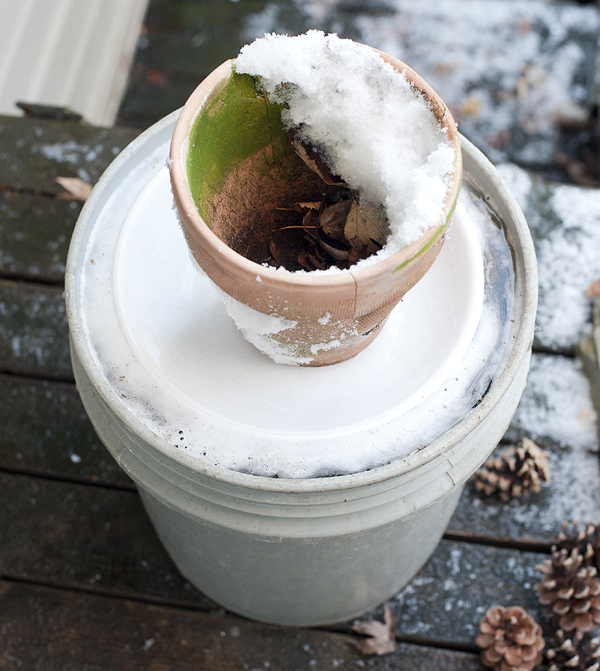
DIY Bleached Pine ConesStep 2 Place pine cones in a large bucket or contain and fill with equal parts bleach and water. (I purchased bleach from a dollar store.) Place a plate on top with a heavy object to hold pine cones down in bleach mixture. Allow pine cones to soak for at least 24 hours.

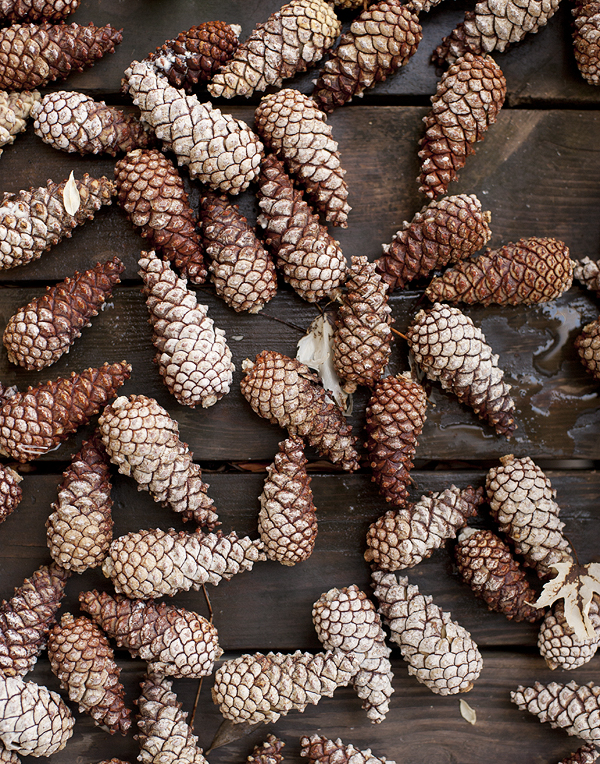
DIY Bleached Pine ConesStep 3 Carefully drain the bleach solution and lay pine cones out in a single layer to dry. They will be closed, and some still dark but after a couple of days they will open and lighten. Be sure to set in an area that is moisture free – a sunny closed in porch works well. The smell of bleach goes away significantly once they are dry….goes away completely a few days after that.

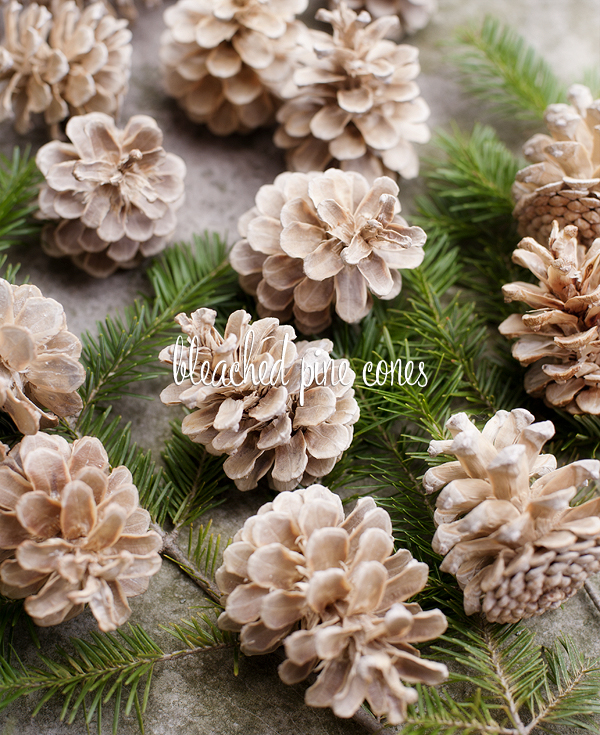
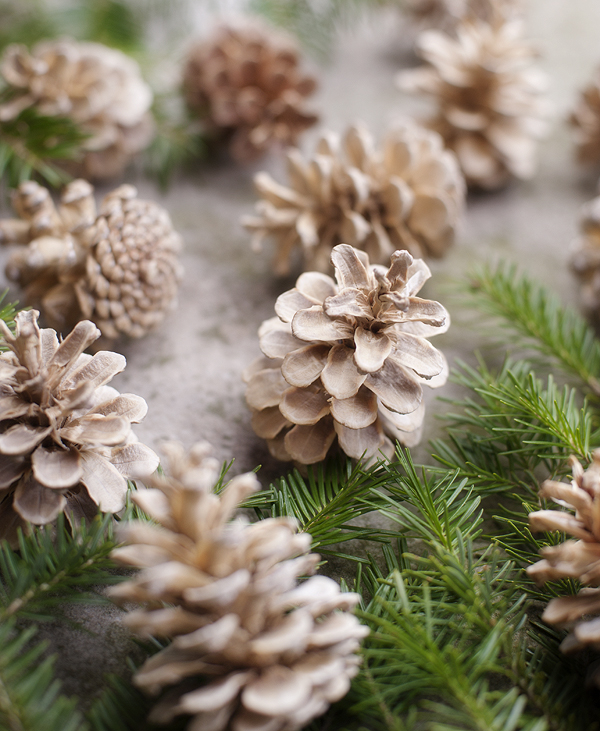
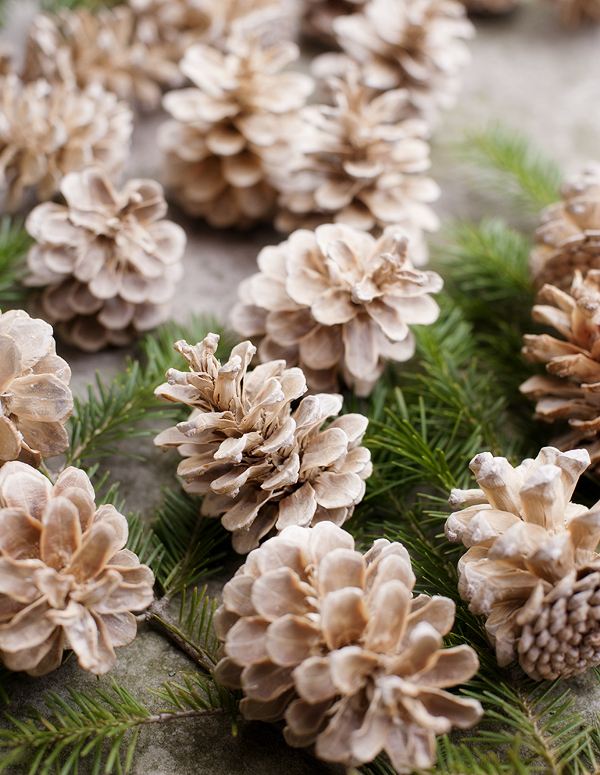
DIY Bleached Pine ConesAnd that’s it! After they have dried they open up and look like this:

DIY Bleached Pine ConesThe color reminds me so much of coffee with cream. They go beautifully with natural things as well as sparkly silver and gold.

DIY Bleached Pine ConesAs far as decorating is concerned I have not done much with them other than fill a couple of hurricanes that I have sitting on my dining room table. They are gorgeous though! I would love to make garland for the living room as I think it would go beautifully with our real tree. If you end up bleaching some pine cones of your own please share by tagging #prettyplainjanes!

Happy Decorating! (To my fellow procrastinators!)

xo,

brandyjsig


Posted in abode, christmas, decor, diy, holiday decor, holidays | Tagged | Leave a comment

hot cocoa puppy chow

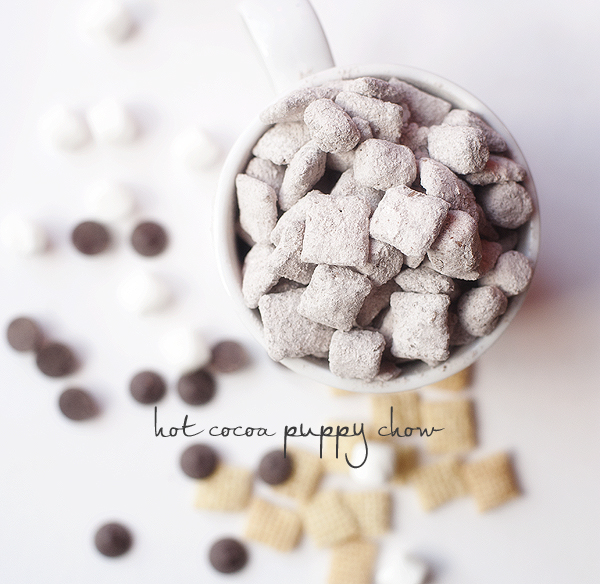
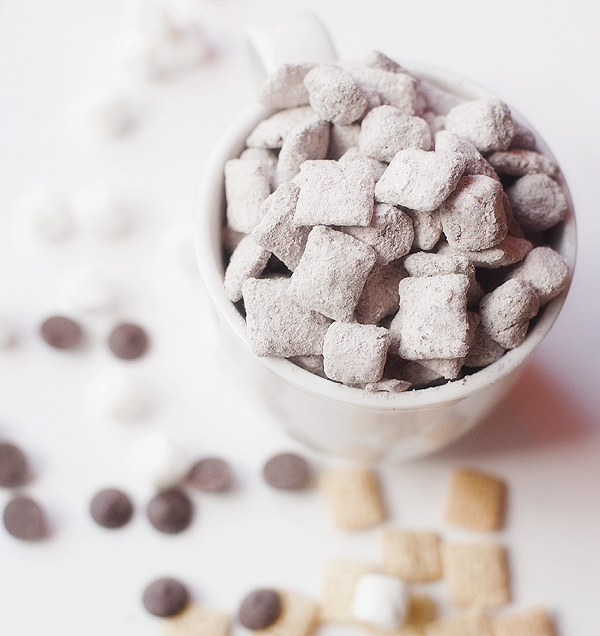
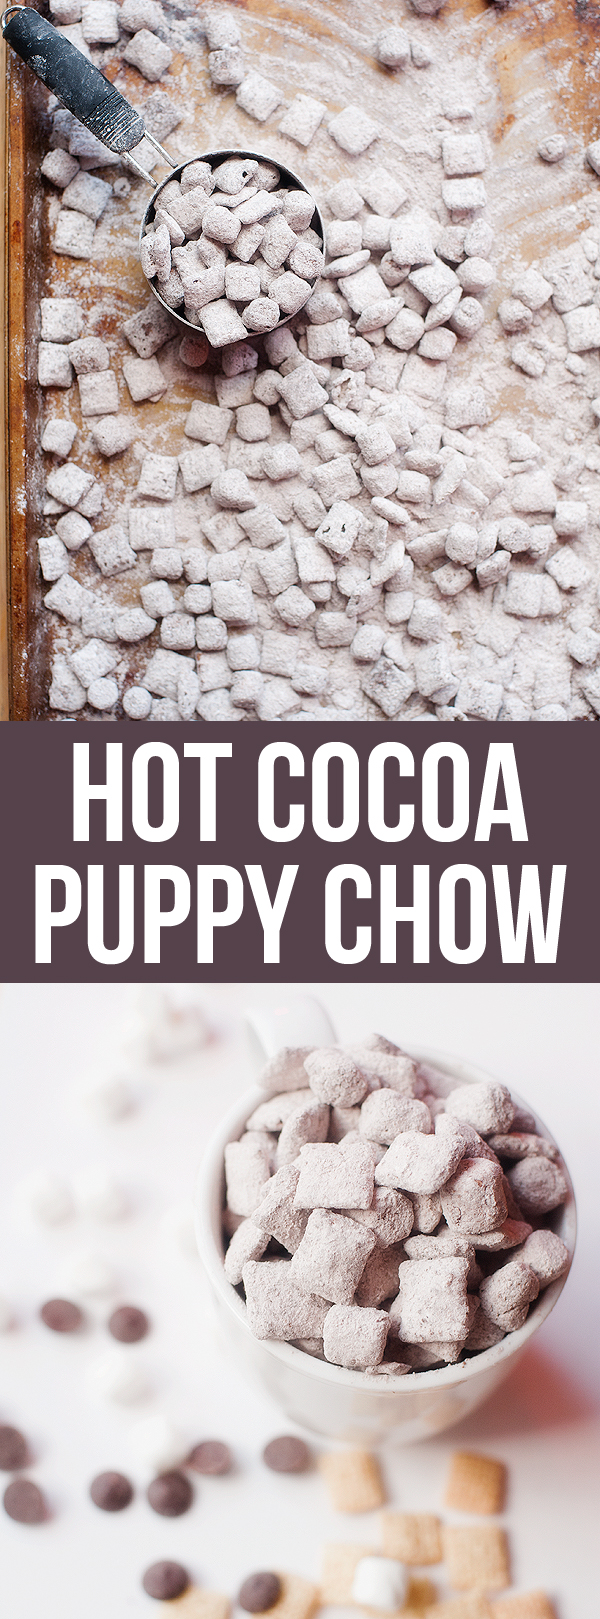
Hot Cocoa Puppy ChowWhether you call it muddy buddies or puppy chow there is no question that the combination of peanut butter, powdered sugar, chocolate and Chex cereal is basically legal crack. Can you not devour 2 servings just by simply being the one in charge of making and bringing the crack? If you answer yes you are a far better person than me (with the willpower of 1000 men apparently).

While I am a big, BIG original puppy chow mix fan I do love the 100s of alternative combinations one can try…including this hot cocoa version. It’s sweet and crunchy just as you would want this treat to be but instead of peanut butter as the accent flavor you get to experience hot cocoa….and where there is hot cocoa there are marshmallows…and where there are marshmallows there is happiness. Lots and lots of happiness.

Hot Cocoa Puppy Chow Hot Cocoa Puppy ChowDo you have a favorite way to prepare puppy chow? I’m not sure I could chose a fave but I do know they are all equally crack-like in my world.

Enjoy!

brandyjsig


hot cocoa puppy chow
 
Prep time
Total time
 
Serves: 8
Ingredients
  • 8cups rice Chex cereal
  • 10oz bag mini marshmallows
  • ½cup butter
  • 2cups semi sweet chocolate chips
  • ¼cup hot cocoa mix
  • ¼cup cocoa powder
  • ½tsp cinnamon
  • 3cups powdered sugar
Instructions
  1. Mix the Chex cereal and marshmallows in a large bowl. Place cocoa mix, cocoa powder, cinnamon and powdereed sugar in a brown paper bag (whisk together in that bag just a little).
  2. In a microwave safe bowl, combine the butter and chocolate chips. Microwave on high for 1 minute. Stir and continuing microwaving in 15 second intervals, stirring between each until ingredients are completely melted and smooth.
  3. Pour the melted mixture over Chex and marshmallows, combine until cereal and mallows are coated well.
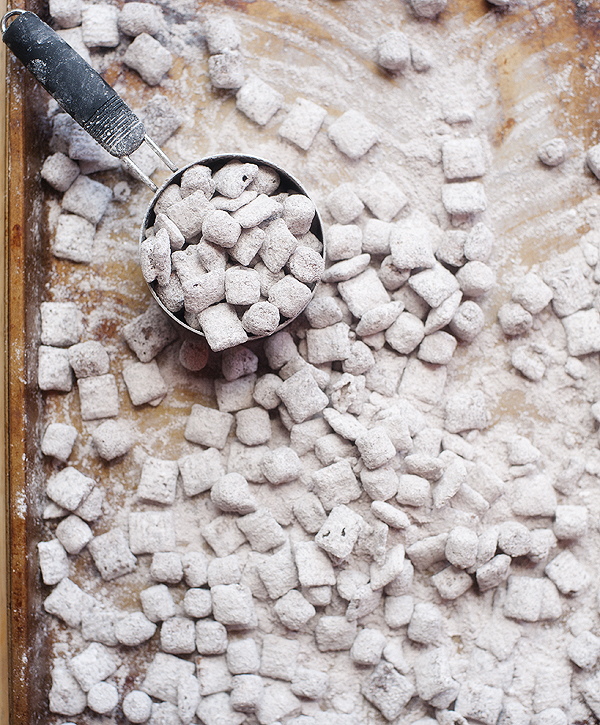
  4. Dump the mixture in your brown paper bag of powdered ingredients. Fold the top over a couple of times and shake, shake, shake until the ingredients are well coated. Dump out onto a baking sheet to cool and set. Enjoy!

Hot Cocoa Puppy Chow
Posted in recipes, something sweet | Tagged | Leave a comment