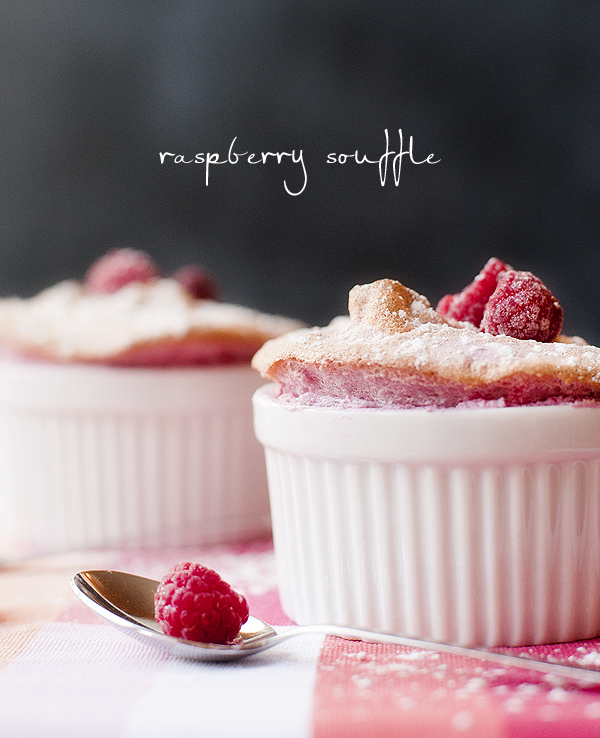
raspberry souffle

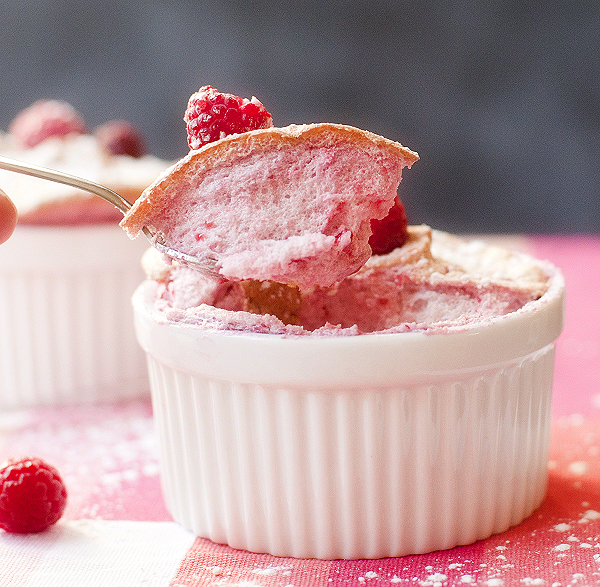
Raspberry SouffleThis was my first go at a soufflé. I assumed it would be incredibly complicated, full of precise technique. Much to my surprise it was neither. I wouldn’t go as far as saying it is an “easy” recipe buts it’s definitely not as difficult as the fancy reputation would lead you to believe.
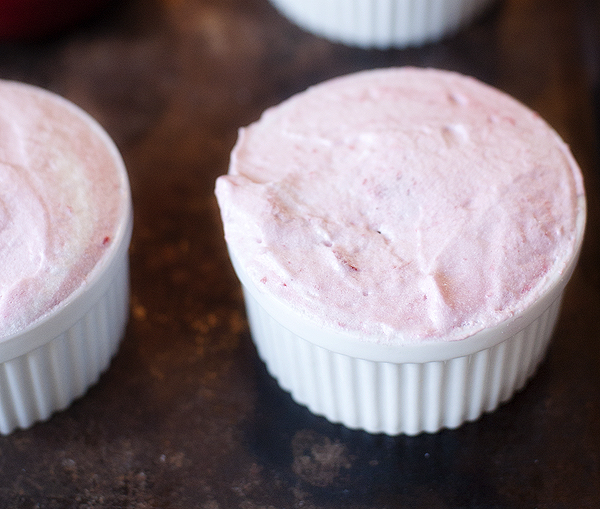
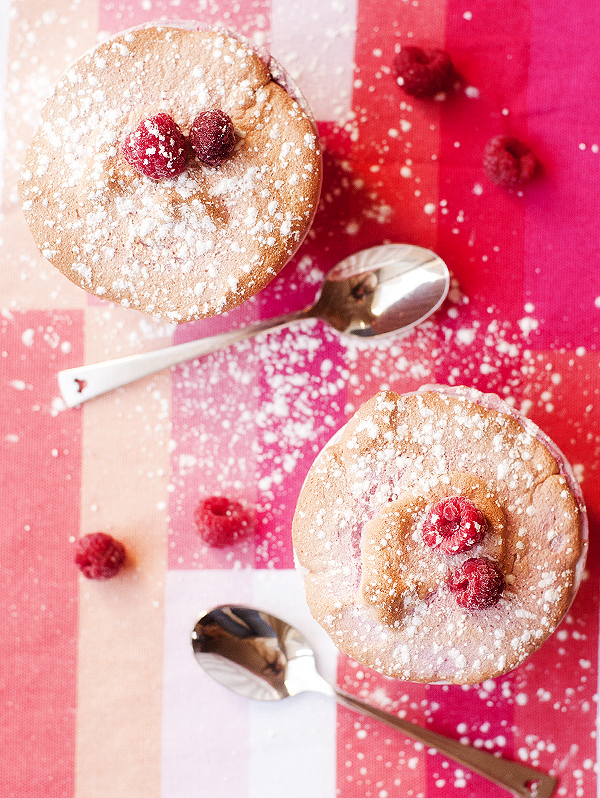
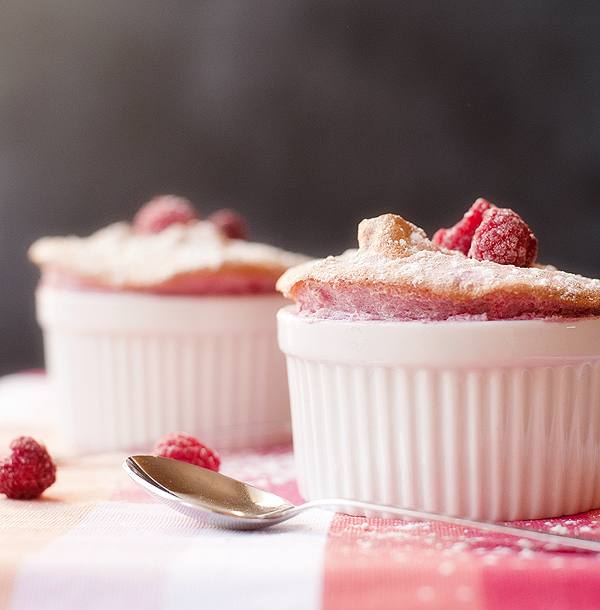
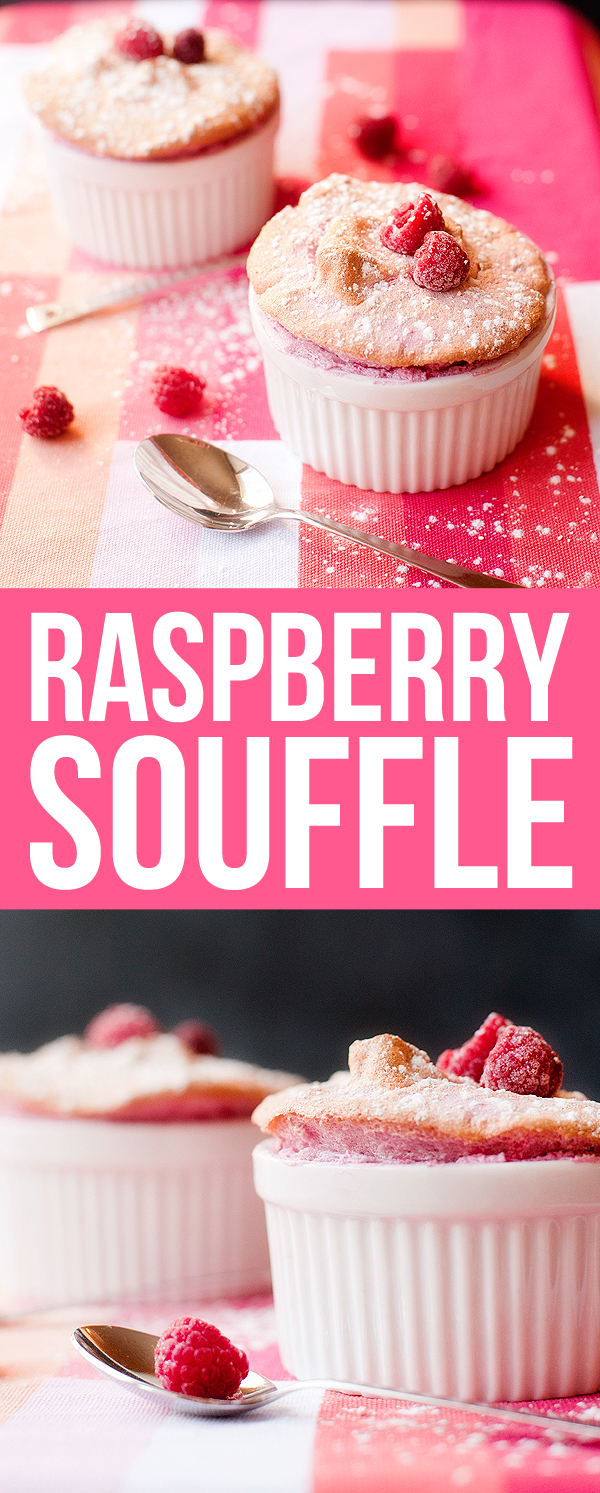
Raspberry Souffle Raspberry SouffleAs you may have noticed, mine did not exactly rise to a towering height. I shot them several minutes out of the oven so there was definitely some settling. I was a little bummed until I took a bite. Light as air, decadent, raspberry fluff. It’s dreamy guys.
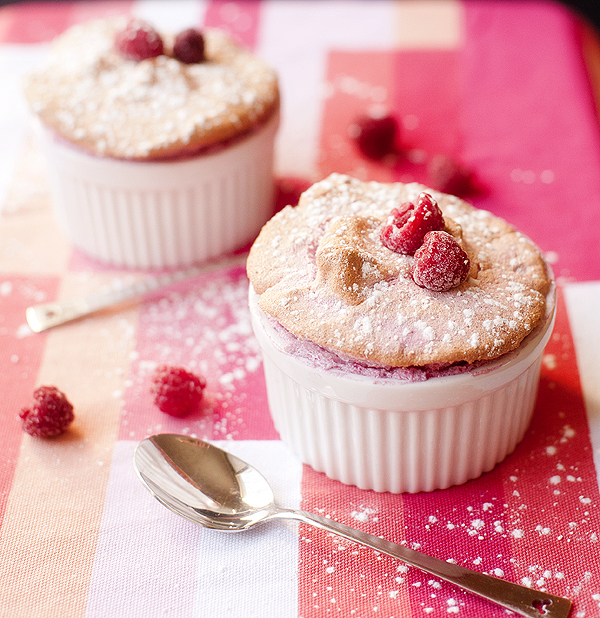
Raspberry Souffle Raspberry Souffle Raspberry Souffle

And oh yeah hey….it’s pink! Absolutely perfect for a certain holiday coming up. I’m thinking a dark chocolate center would be a nice addition. Or even a simple drizzle of chocolate right before serving. Either way your Valentine is going to be impressed at first glance (and even more so after every bite).

Enjoy!

“http://prettyplainjanes.com/wp-content/uploads/2015/04/brandyjsig.jpg” rel=”attachment wp-att-8360″>brandyjsig


raspberry souffle
 
Prep time
Cook time
Total time
 
Serves: 8
Ingredients
  • Melted unsalted butter (for buttering ramekins)
  • Fine sugar (for dusting ramekins)
  • 10oz frozen raspberries
  • 2tbsp lemon juice
  • ¼cup fine sugar
  • 3tsp water
  • 1tbsp cornstarch
  • 5 egg whites
  • ⅓cup fine sugar
  • Powdered sugar for dusting
Instructions
  1. Preheat the oven 350F. Brush butter in 8 small ramekins and dust with sugar (may use more or less ramekins depending on their size). Place ramekins on a baking sheet.
  2. Place raspberries in a medium sauce pan over medium heat. Bring to a low boil for 3 minutes. Take off heat and purée in a food processor or blender. Strain through a fine sieve and place back in sauce pan over medium heat. Add lemon juice and sugar and stir until dissolved. Place water and cornstarch in a small bowl and whisk together. Bring raspberry mix to a boil and whisk in cornstarch mixture, continue to mix for 1 minute. Remove from heat and allow to come to a compete cool in the refrigerator.
  3. Place egg whites in a stand mixer and beat until soft peaks form. Slowly add sugar. Beat until it begins to look glossy. With a spatula gently fold in the raspberry mixture.
  4. Spoon the mixture into each ramekin. Even out the tops with a knife. Bake in the oven for 12 to 15 minutes, or until soufflés have risen. Dust with powdered sugar and serve immediately.

recipe from Coco & Kelly
Raspberry Souffle


Posted in recipes, something sweet | Tagged | 1 Comment

foot cream and makeup setting spray review

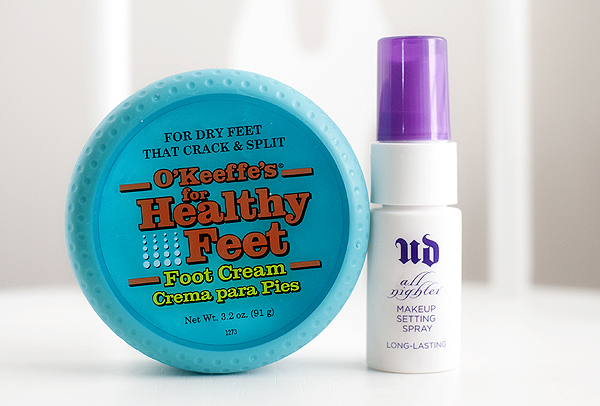
I am not sure 2 things could be more different as far as what they represent. That said no one likes cracked heels or smeared makeup…which is why I wanted to try these:

Beauty TriesFirst up the O’Keefe’s for Healthy Feet.

My family has been using the hand version for a few years now and love, love, loves. This formula is specifically for dry, cracked feet….you know, the kind that make you never ever want to take off your socks. For those of you who suffer from this condition [raising my hand high but you can forget seeing an image of the monstrosity] you know how frustrating it can be to not only find relief but healing power.

Sticky and I both apply this cream after every shower. A little truly does go a long way and after a week we could tell the difference. Much softer overall feet and the really tough spots, like the heels, are definitely improved. Highly recommend this tub of goodness.

I received Urban Decay’s Setting Spray as a sample from Sephora and could not wait to try. If you are a girl who gets an annoying dark line in the crease of your eyelid from your eyeliner,  this product is for you.

Last week I used for everyday makeup and was very impressed. But the true test was this past Saturday. Full on, heavy application face for a night out with my man. Black eyeliner was used and not a even a speck was found anywhere but where it was suppose to be. I will be purchasing the full size version as soon as my sample runs out. Good news is that won’t be for awhile since even the small trial size seems to be lasting for a long time.

100 thumbs up for 2 products I am loving. If you give them a try I hope you love them as much as I do.

xoxo,

brandyjsig

Posted in beauty, beauty product review, makeup, product love | Tagged | Leave a comment

oversized outerwear

Show of hands to anyone who has seen a girl looking oh so fab in oversized outerwear but when you give it a go it feels more like overstuffed marshmallow than chic. The past 2 years I have been forcing myself to embrace the larger cuts in sweaters and outerwear. Not easy for a girl who likes form and structure, but I have to say I am warming up to the oversize.

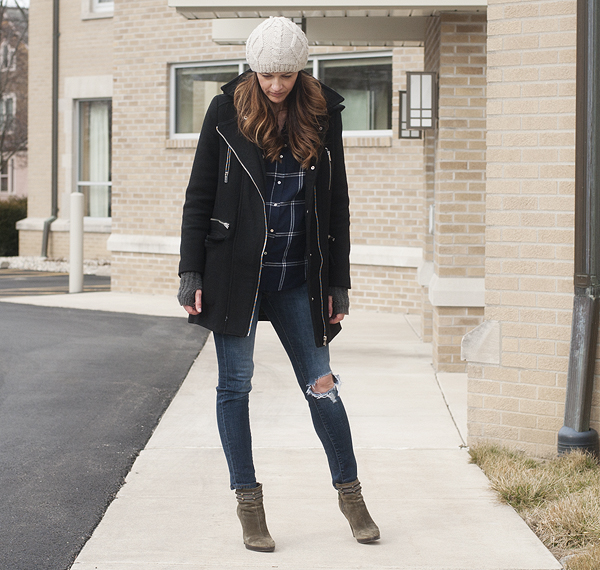
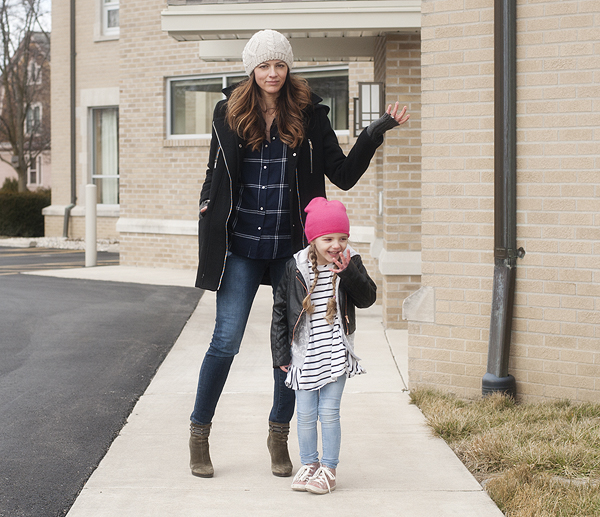
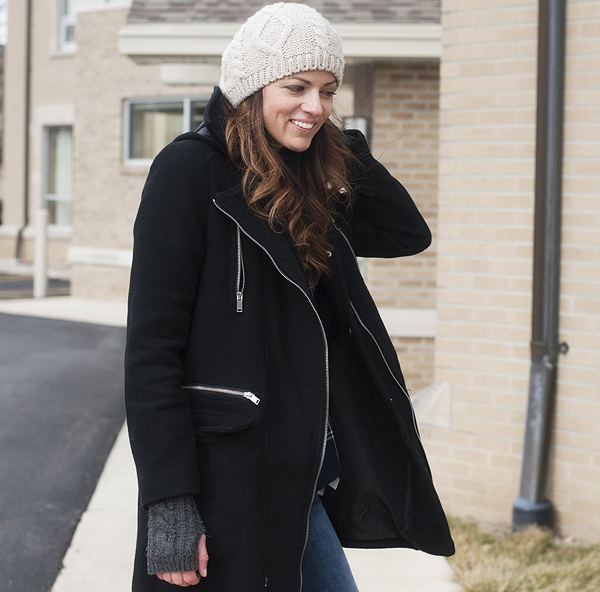
winter lookI purchased this coat one size larger than I normally would  thinking that it would fit over bulky sweaters better. The arms are also longer which is fabulous for my freakishly extended limbs. (Just the arms, not the legs of course.) I really thought I would hate it, but it was a steal so why not.

I don’t love this coat. I am obsessed with it. Basically wear it every chance I get. And I love it unzipped. That statement alone blows my mind. An unzipped oversized coat that I feel put together in. I thought this was a fashion myth but alas…it is true and wonderful.

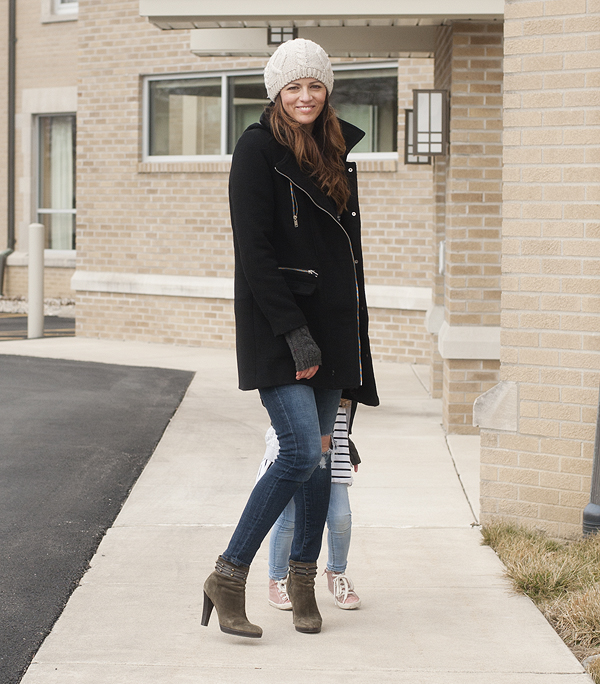
winter lookThis is me reacting to the “I don’t wanna get my picture taken” photo bomber. Good thing she’s cute.

winter lookIn case you didn’t notice I also love this hat. To be honest I can’t find my other favorite beanie so the cableknit version is my consistent go to at the moment.

winter look winter look

||WEARING|| coat similar/Forever 21 denim/boots similar/shirt similar/hat similar/gloves similar

Gotta another question for you girls… You rock the destroyed jeans in the middle of winter? I don’t know why but I swear they do not seem any colder than regular denim. Then again I live in Ohio and it has been in the 40s+ for winter so it’s basically like spring around here. We’ve got some realistically cold days coming up, I have a feeling those holey jeans won’t be making the cut.

xo,

brandyjsig

Posted in style | Tagged | Leave a comment

kitty cat valentine box

Kitty Cat Valentine BoxOne of my favorite childhood memories was making what cannot be called anything other than kickass Valentine’s Day boxes with my mom. My brother and I killed the competition every single year. While I cannot remember exactly what all of them looked like I do recall a pink pig created out of an oatmeal canister. It was legit from the tail to the face. My classmates ohh-ed and aahd, the over-competitive one (there is always one) hated me.

And this was done pre-Pinterest people…my mom was a creative mastermind.

When a paper came home stating that Jettie could bring in a Valentine box I nearly did a cartwheel. I asked her what she would like to make and of course she had a million really great ideas (insert grand 4 year old hand gesturing here).

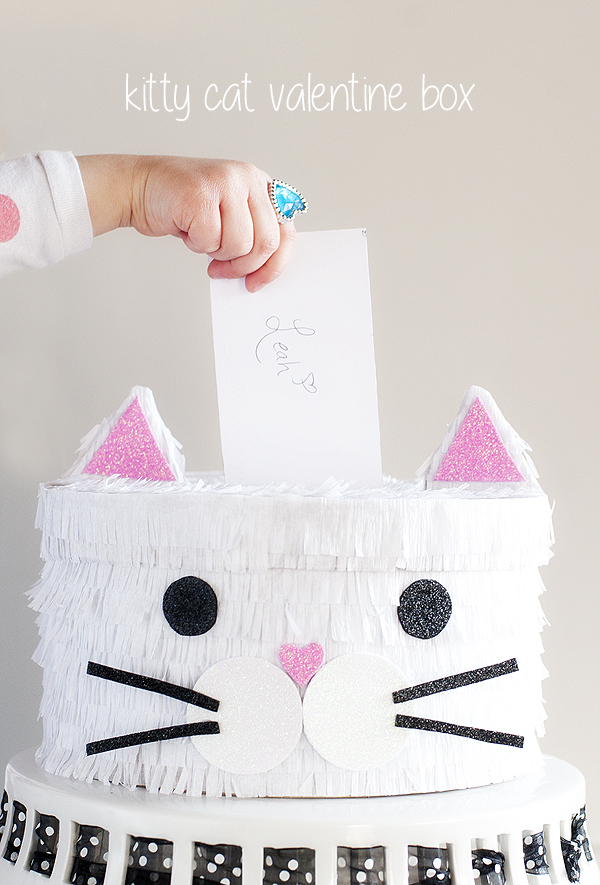
I then asked “how about a kitty cat?” and she said “like my cake?” And I thought why not.

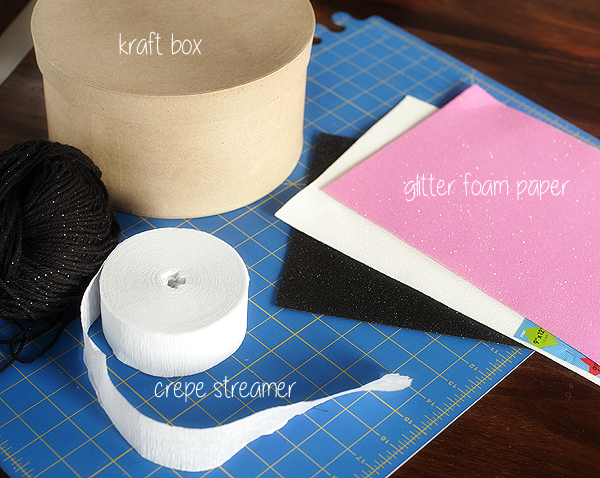
Kitty Cat Valentine BoxHere is what we used for our kitty cat:

  • white crepe streamer
  • round kraft box
  • glitter foam paper in black, white and pink
  • small piece of cardboard (for ears)
  • glue gun and glue
  • scissors

Steps:

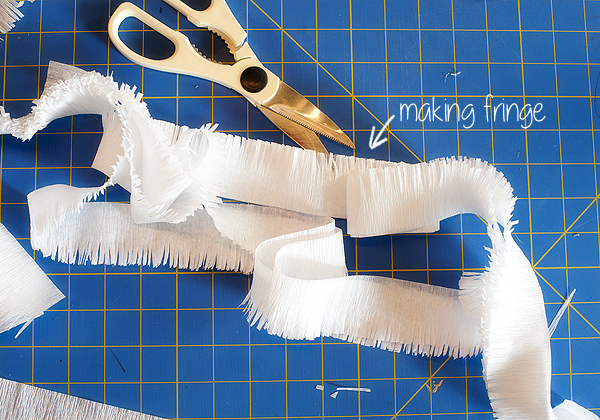
  1. Take the streamer and wrap around box once. Use this measurement to cut at least 15 lengths of streamer. Stack them and cut 1/8″ “fringe” along one of the sides, the entire length. So basically one half of your streamer will be fringed and the other half is in tact.Kitty Cat Valentine Box
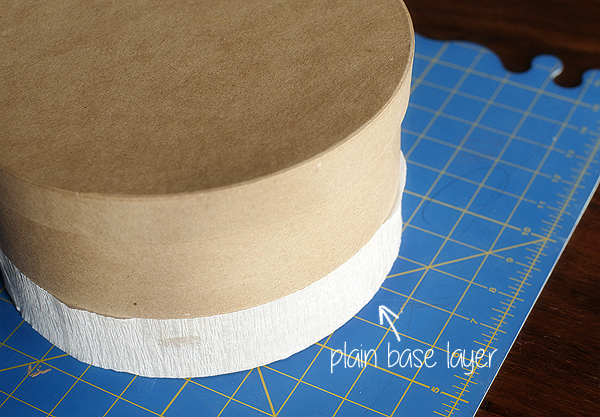
  2. Cut another streamer the length of the diameter of the box. Using a glue gun, secure that around the bottom of your box. This will be where you start your first row of fringe, you need this base layer to cover up the box underneath.Kitty Cat Valentine Box
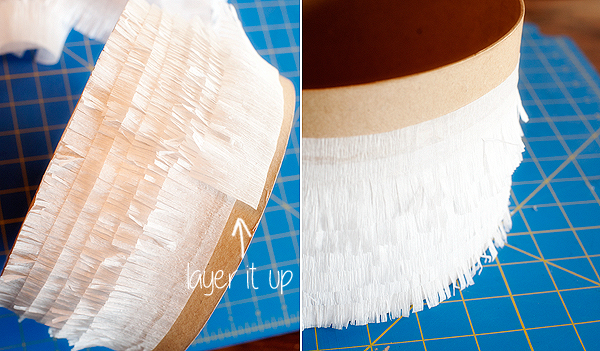
  3. Begin layering your fringe, securing to box with glue gun all the way around. The two ends of each layer should meet in the same spot for every layer, trim off excess after layer is secured. Go up as far as the lid will cover (I came about 1/2″ from the top).Kitty Cat Valentine Box
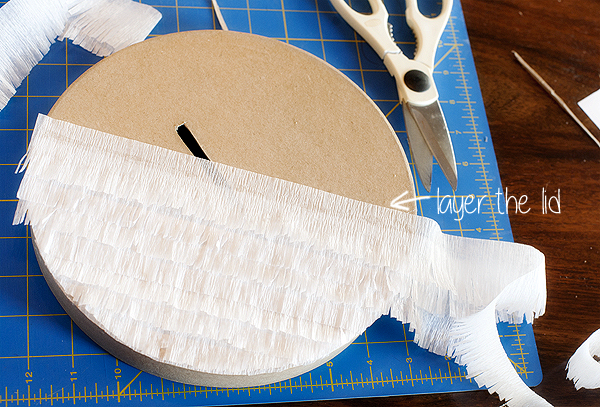
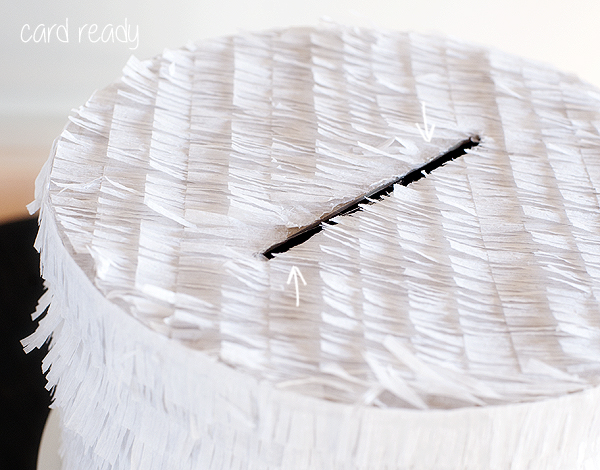
  4. Next cut a slot in the lid of your box for the cards to fit in. Then cover the lid with the same layer effect as the main part of the box (don’t forget the sides). Use a sharp exacto knife to recut the slot out (after being covered by the fringe). Use scissors to trim off excess fringe, also giving you that clean rounded edge.Kitty Cat Valentine Box Kitty Cat Valentine Box
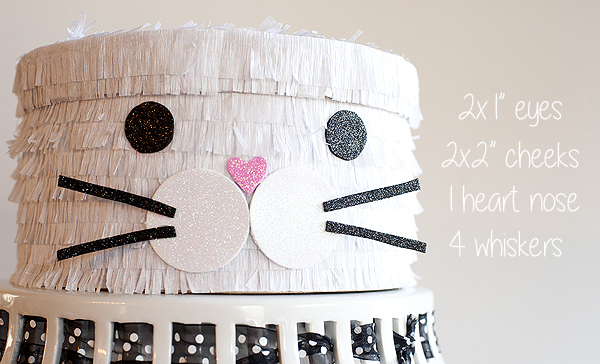
  5. Now for the face! We used circle cutters to make 2 eyes and 2 cheeks out of foam paper. I hand drew a heart for the nose (pink foam paper) and cut strips out of the black foam paper for the whiskers. We then attached them all with hot glue.Kitty Cat Valentine Box
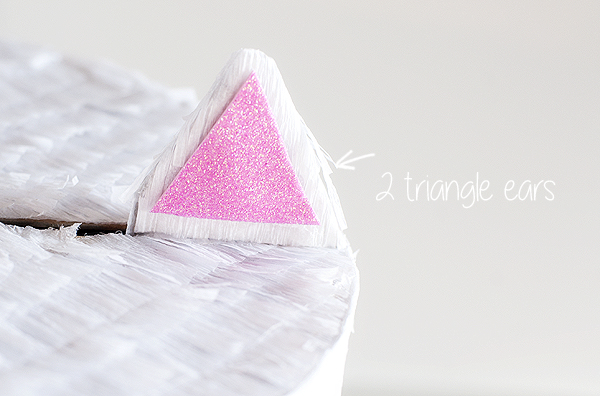
  6. For the ears cut out 2 triangles out of cardbard, and 2 smaller triangles out of the pink foam paper. Cover the cardboard with fringe and then attach pink triangles with hot glue. Attach to kitty cat with hot glue. (Be sure the triangles do not cover any of the slot.)Kitty Cat Valentine Box

Done!

We still have yet to decide where to put her name, we are thinking on top towards the back. Jettie wanted to put it on the bottom – a minimalist. The apple does not fall far I tell ya.

You however should feel free to get creative by switching up colors, adding more decor or even a tail. I also think a fox head would be darling like this. Or a pink penguin. Maybe even a raccoon. I want to make more…

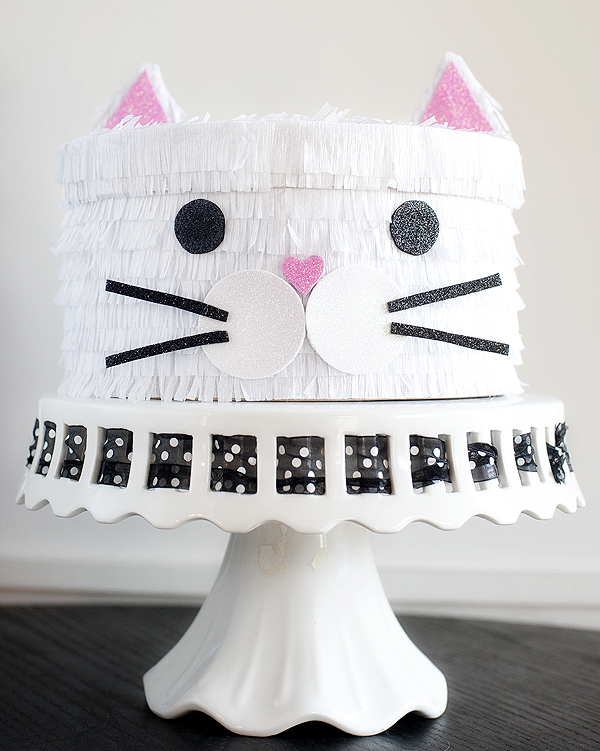
Kitty Cat Valentine BoxThere is now doubt that this is one cute kitty cat Valentine box. While I am no “my mom” I do think she would be proud of this creation. Brings back the best kind of memories for me and hopefully will for my Sketts.

xo,

brandyjsig


Posted in diy, holidays, valentine's day | Tagged | 13 Comments

pear mascarpone cake

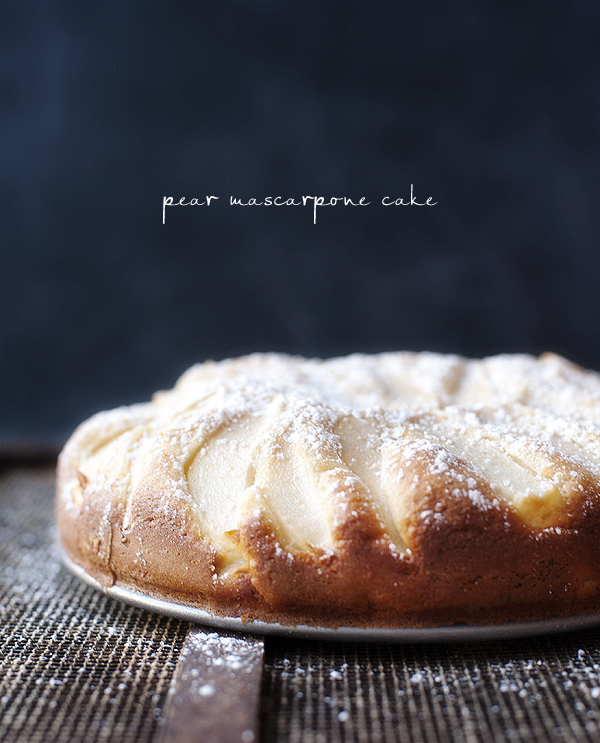
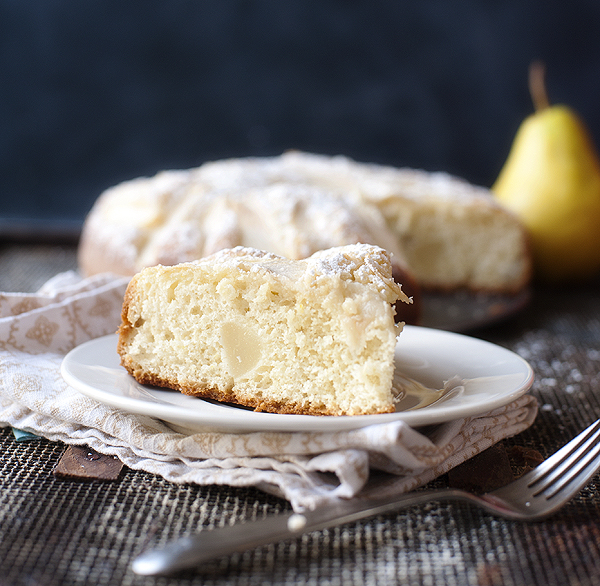
Pear Mascarpone CakeEver take your spring form pan bottom to someone’s house, cake on top of course, and forget to take it home with you? Then for nearly a year you search your cupboards high and low wondering what on earth you did with it. “I’ve got the sides, where the heck is the bottom?”

Finally I gave up and asked for a new pan for Christmas. Glad I did because this cake baked brilliantly in it and can I just say Hello!!!! Gorgeous!

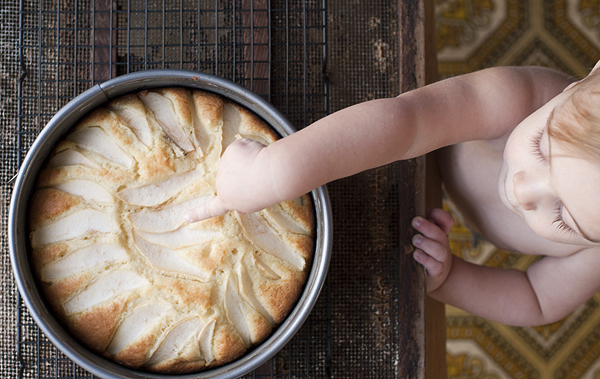
(Bing clearly knows a good thing when he sees it.)

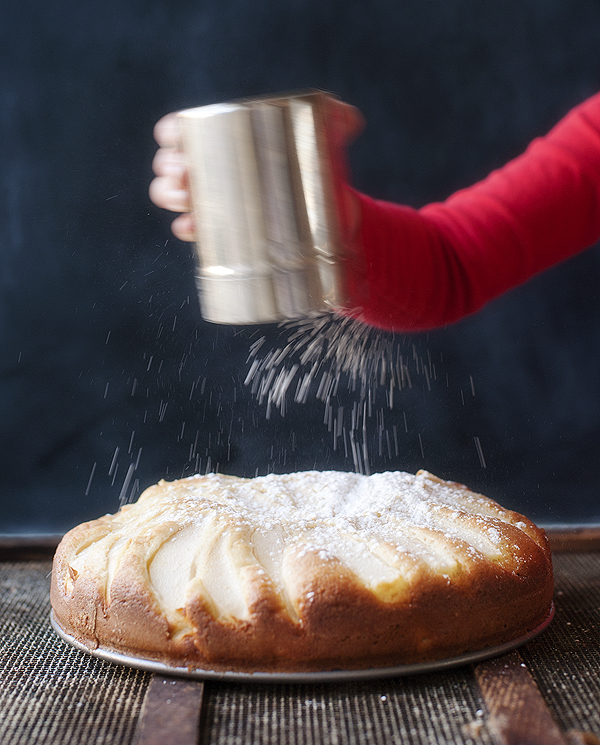
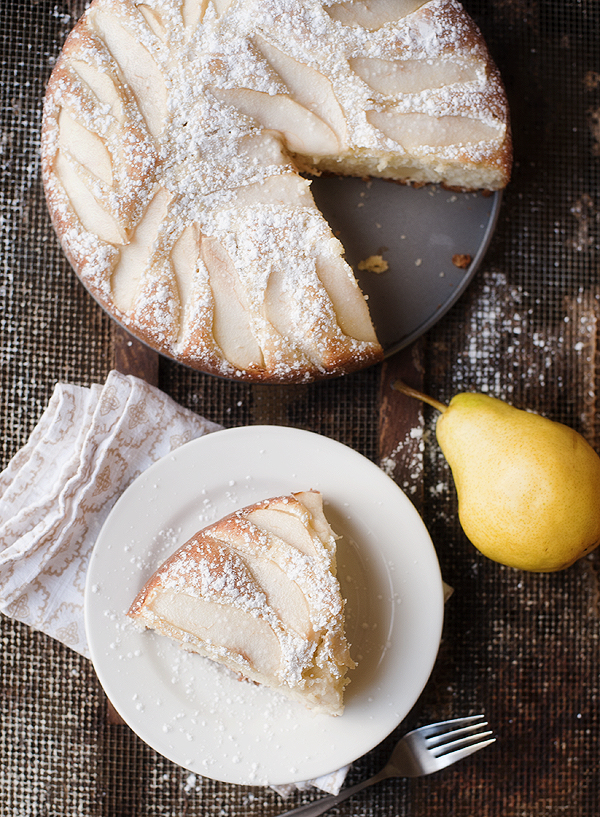
Pear Mascarpone Cake Pear Mascarpone CakeIf you ever need someone to dust powdered sugar on your confections I’ve got one heck of a referral for you. She doubles as a master sifter and finicky taste tester as well. (She is going to smile so big when she sees this image. My proud little assistant.)

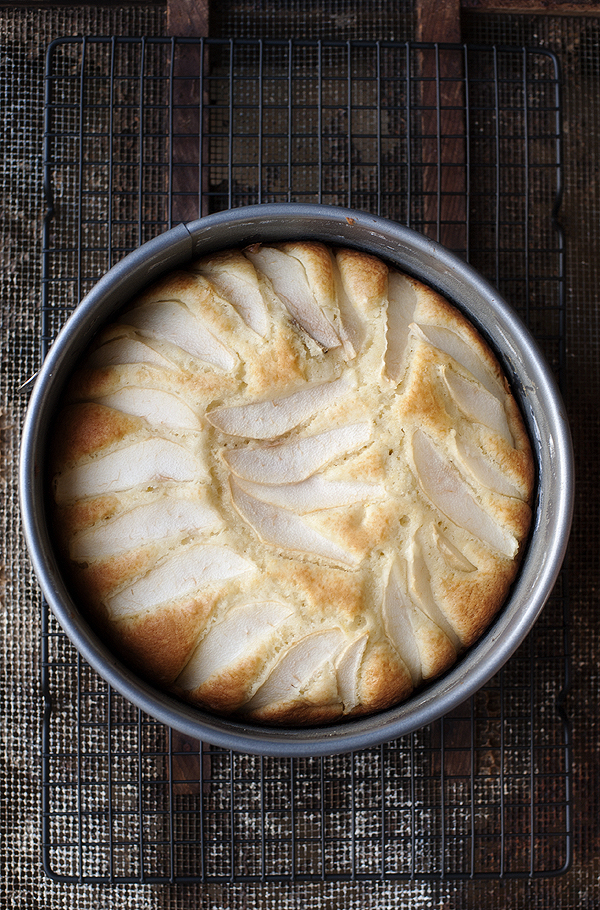
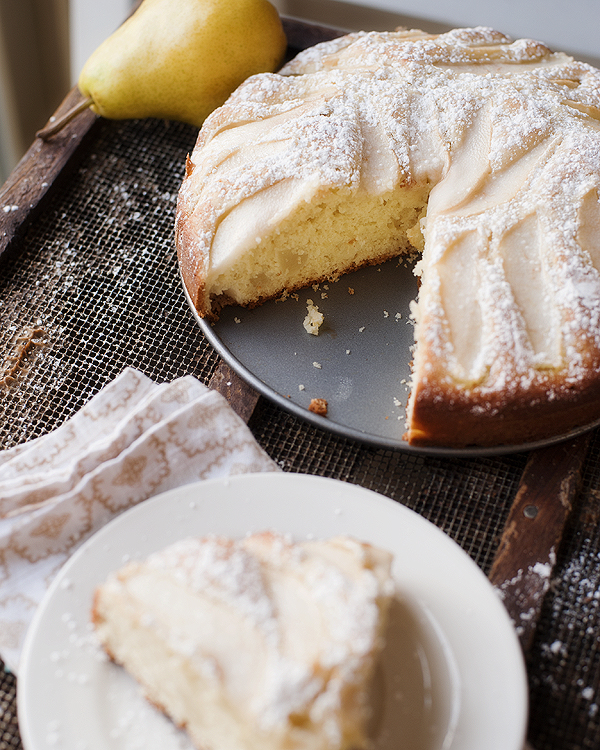
Pear Mascarpone Cake Pear Mascarpone CakeLet’s talk about this cake. First off it is not uber sweet. If you are hoping for a sugar rush this more than likely wouldn’t be for you.

If you are hoping for something light and different and satisfying this would be your cake. The intertwining of the pear and mascarpone is simply a match made in heaven. This is the perfect sidekick to an afternoon cup of tea or a companion for your morning joe.

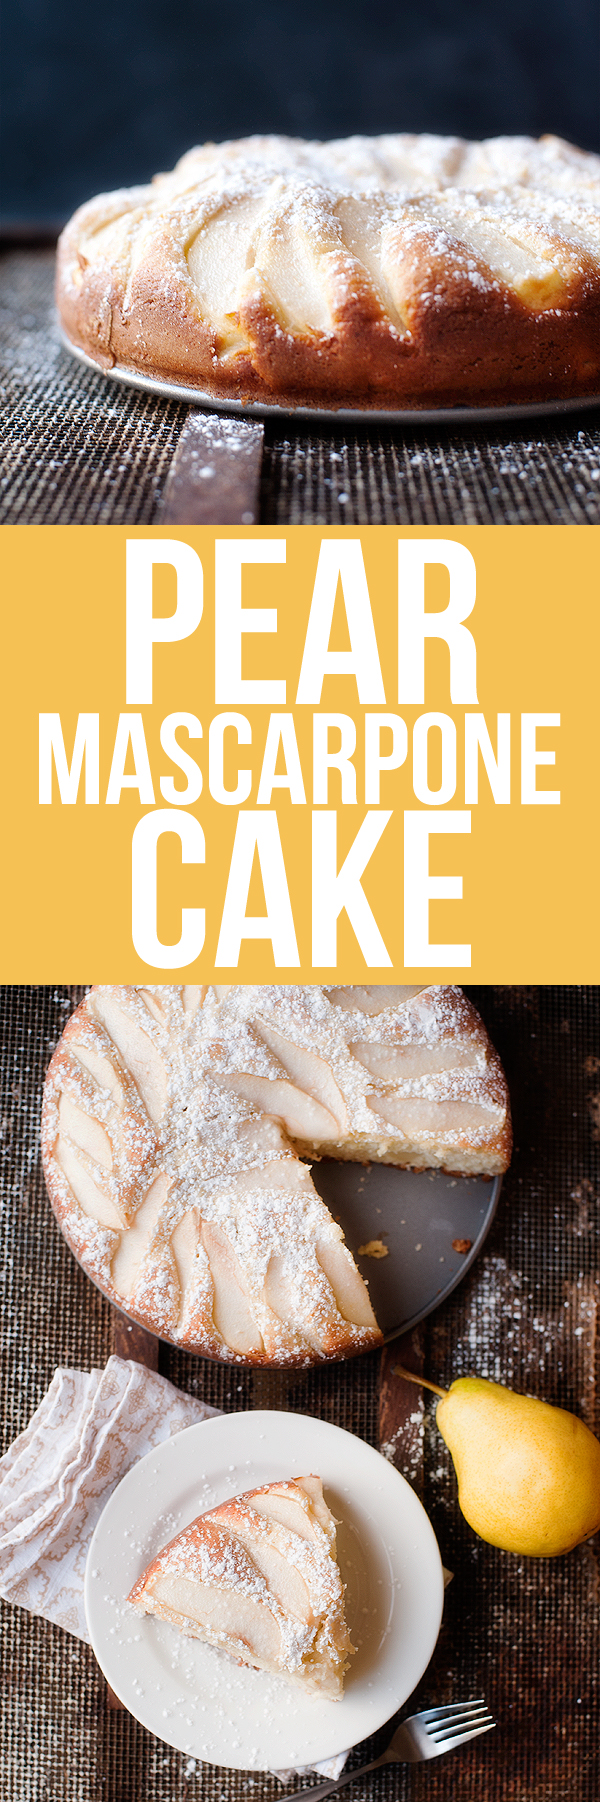
Pear Mascarpone Cake Pear Mascarpone CakeGosh she’s a pretty cake! You can always tell when I really enjoy shooting something because you get a double dose of images. Cocktails and cakes are my favorite. Yep, that sounds like me in a nutshell.

Enjoy!

brandyjsig


5.0 from 1 reviews
pear mascarpone cake
 
Prep time
Cook time
Total time
 
Serves: 8
Ingredients
  • ¾cup granulated sugar
  • 3 large eggs
  • ½cup mascarpone
  • ¼tsp almond or vanilla extract
  • 1½cups all purpose flour
  • 5tbsp cornstarch
  • 1tbsp plus 1tsp baking powder
  • 3tbsp vegetable oil
  • pinch of kosher salt
  • 2 ripe yet firm pears, both peeled and cored. One cubed, one slice into ¼" slices
  • Powdered sugar for dusting (optional)
Instructions
  1. Preheat oven 340ºF. Grease and flour a 9" cake pan. (I used a spring form one.)
  2. Cream sugar and eggs in a stand mixer on medium high speed until creamy. Add mascarpone and blend until smooth. Add extract and combine.
  3. In a medium bowl sift together flour, cornstarch and baking powder. Add to the wet mixture and gently fold with a wooden spoon until just combined (it's fine if you can still see a little flour).
  4. Add vegetable oil, salt and diced pears. Fold until just combined. Pour into prepared pan and top with sliced pears.
  5. Bake on the middle rack at 340ºF for 35 to 40 minutes or until top begins to turn golden and toothpick comes out clean. Be sure not to over bake.
  6. Cool cake completely in pan. Dust powdered sugar over the top if desired. Enjoy!

 recipe slightly adapted from An Italian In My Kitchen

Pear Mascarpone Cake
Posted in breakfast, brunch, recipes, something sweet | Tagged | 2 Comments