diy wax paper

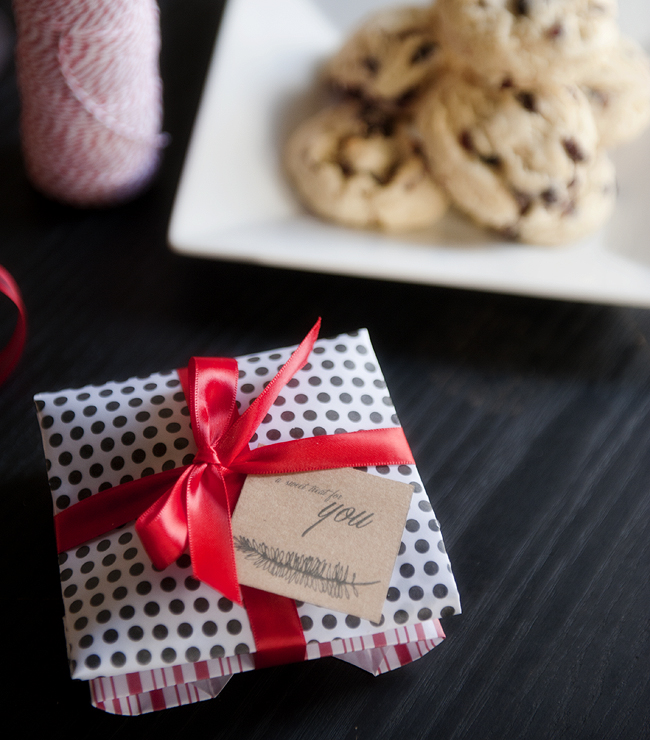
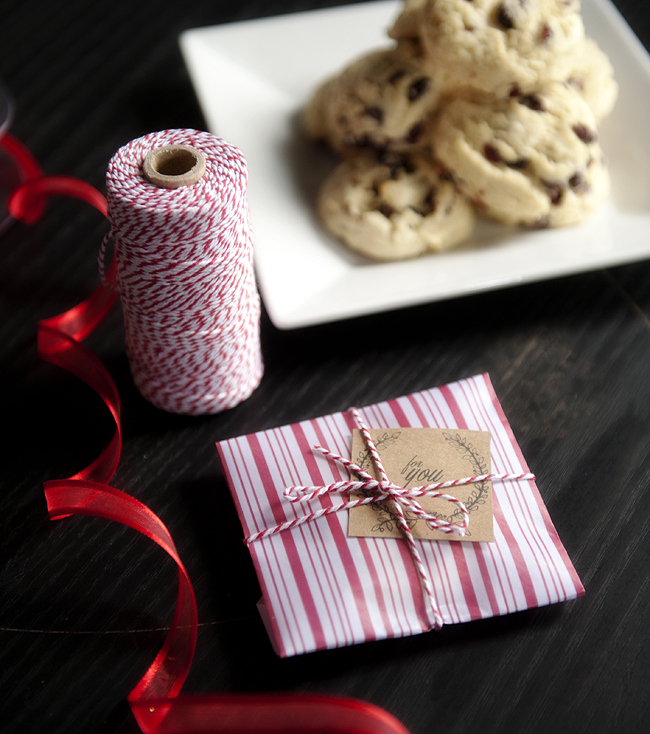
With the holidays at our doorstep, it’s time to start thinking about gifts.  This fun project puts a personal touch on something small; perfect for teachers, neighbors, the mailman, a party favor, a secret santa gift, a random act of kindness.  Where DIY wax paper is concerned, the projects are endless- but for this project a fresh batch of cookies was my chosen add-in.. because after all, who doesn’t love a fresh baked cookie?
wax_paper_envelopes_4

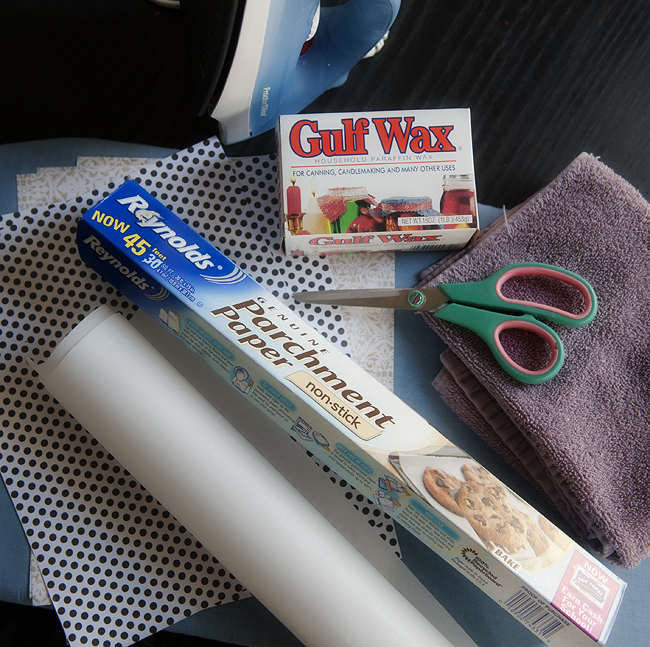
To begin, here’s what you will need:

scrapbook paper (thin paper works best!)

scissors

paraffin wax (paraffin is food safe!)

an old towel

an ironing board & iron

parchment paper

ribbon
wax_paper_envelopes_1

Okay, lets get started.  Set your iron to medium/low heat (depending on your iron), with your steam setting completely off.

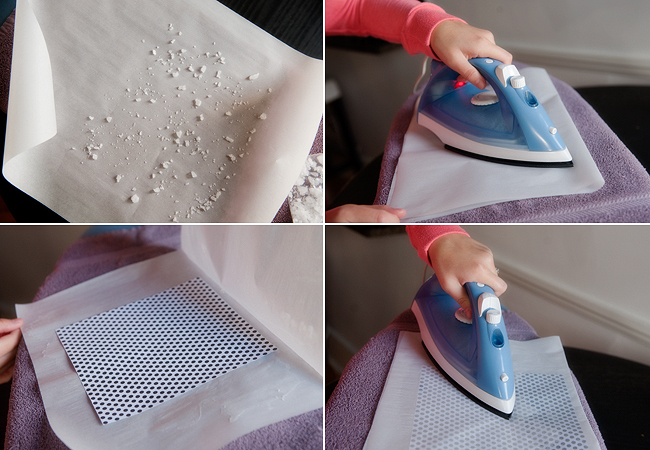
While your iron is heating up, use a knife to chop your wax as fine as you can- the smaller the better.  Paraffin wax doesn’t crumble easily, so if needed place the pieces in a bag and use a hammer to get them a bit smaller.

Place your old towel over the ironing board to protect it from hot wax.  Cut a piece of parchment paper big enough to fit your scrapbook paper inside, with at about two inches left around the perimeter for overflow wax.

Place your parchment on the ironing board, and sprinkle some wax evenly across half of the paper.  Fold the parchment over, and use your iron to melt the wax inside.  Once melted, place your scrapbook paper inside the parchment that is now coated in wax, and run your iron over it again until you see the wax penetrate through the paper.
wax_paper_envelopes_2

Once you remove the paper, it only takes about a minute to dry. If the wax seems uneven, you can place it back in the parchment and heat again, or if you have way too much wax, get a new piece of parchment, place it, and iron again to remove the excess.
wax_paper_envelopes_3

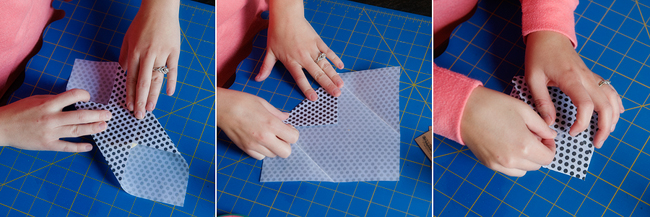
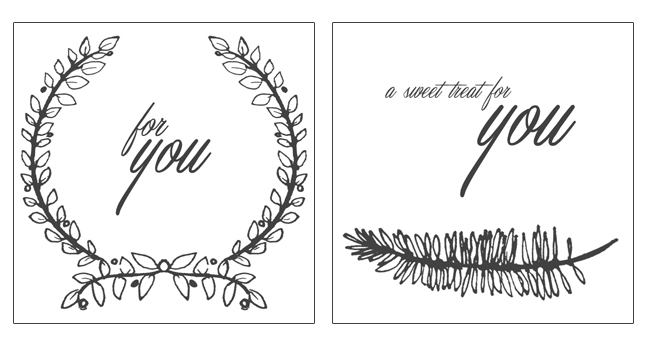
When you are happy with the wax coat, cut your paper into an even square, and fold in the sides to form an envelope.  Use tape or a label to seal your wrapped cookie.  To make these extra special, here is a free printable!  
wax_paper_envelopes_7
wax_paper_envelopes_6
I love the endless options for these little gifts. Grab for any pretty print of paper, add fun ribbon and a tag, and you have an easy, memorable gift that won’t break the bank.
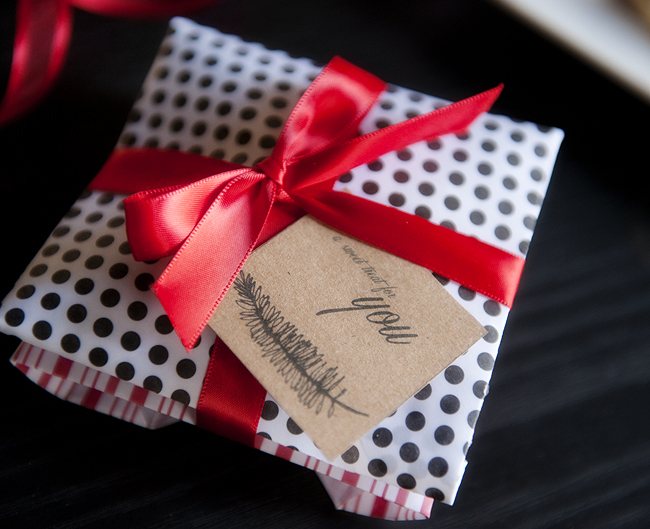
wax_paper_envelopes_5
Happy Friday!
shansig

Posted in diy, give a gift, holidays | Tagged | 2 Comments

looks good on paper

When we first bought this old house, its gorgeous walls were covered in parrots. That’s right. Brightly colored birds flying around the halls and stairways. It was at that point I decided I really loved wallpaper. Don’t get me wrong, I really hated the parrots, but I knew this house would look beautiful in a pattern that had a little more subtlety and a little less wing span. I looked for ways to integrate it without being overly patterned. Much to my surprise, the parrots came down quite easily. I picked a timeless pattern for my hall and that was that. With today’s wallpaper being so much easier to hang and remove, I knew I needed to sprinkle it throughout in more places than just a wall.

wallpaper_hutch_1

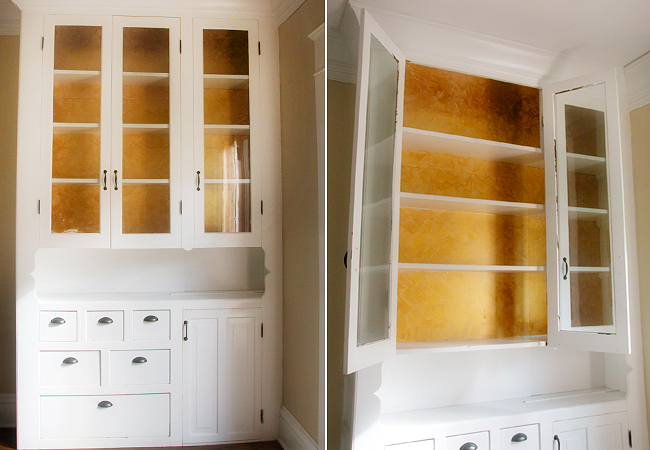
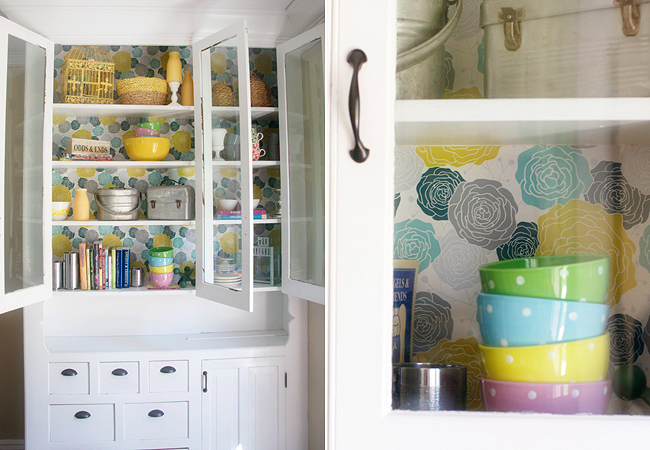
We have an old built in hutch in our dining space that was covered in a million layers of paint. The inside was slathered in an sparkly shade of gold. I thought this would be a perfect place to bring a fun pattern in, without being overly busy. A hutch, curio cabinet, or any cabinetry with open or glass shelving is an ideal place to bring pattern into your home without having to paper an entire wall. Not only is it a small and easy space to work with, but your cabinet items fill the space as well, allowing for practically any pattern that suits your fancy. Like this lovely afternoon bouquet.

wallpaper_hutch_2

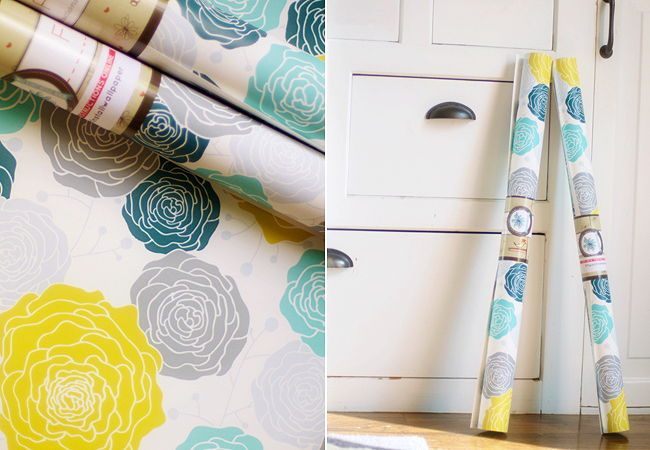
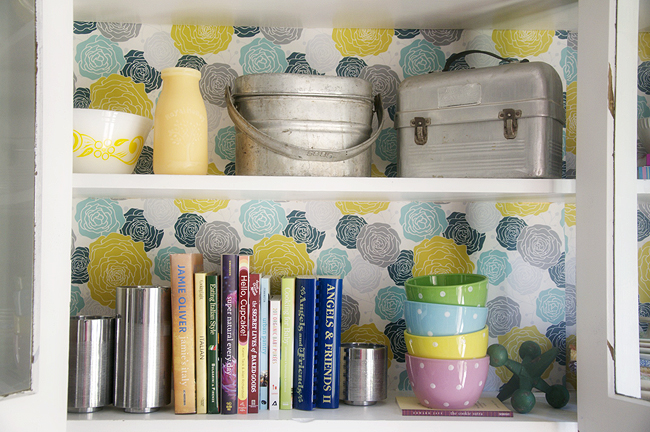
I chose a more modern bloom pattern, that I thought would work well against the pure white hutch. I filled it with items I often use in my kitchen and absolutely love the way it turned out. The pop of color is just enough in the small space.

wallpaper_hutch_3

wallpaper_hutch_4

With a boost of confidence after seeing the hutch makeover, I took my paper trail a bit further. Where else can I sprinkle in some pattern? STEPS!

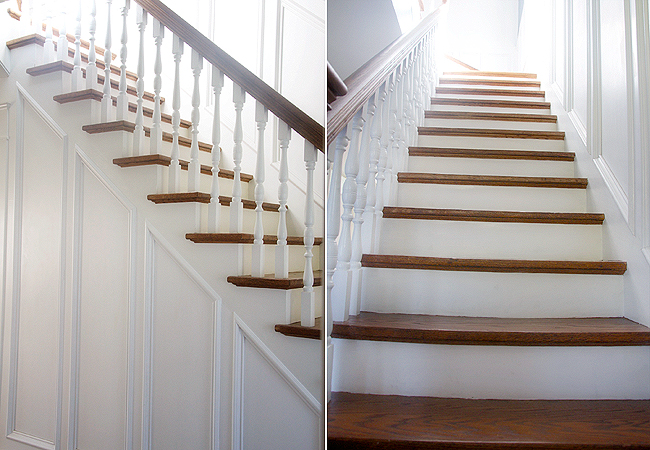
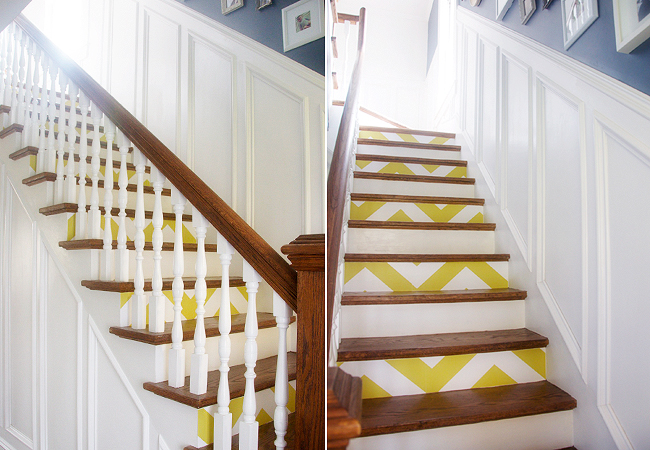
wallpaper_stairs_1I know what you’re thinking. How do you pick a pattern that you will love forever? Wallpaper is so permanent! Here’s my secret. You don’t have to. Not only has wallpaper made leaps and bounds in its hanging and removing ability, but now many companies make peel and stick wallpaper. This is exactly what I used for my stairs. I joined the masses with the ever popular chevron pattern and the peel and stick was just as easy to put up as it sounds on paper.

wallpaper_stairs_2

If you’re having trouble putting pen to paper on where in your home you can bring in some pattern, there are so many more options! When picking a pattern, I ordered samples. While, they didn’t make their way to my steps, hallway, or hutch, I do plan on framing their pretty patterns, and hanging in our living room among photos. You can paper accent tables, single accent walls, use it as book covers for display books, cover your canister sets in the kitchen, line your drawers, cover frames, lampshades, or even give those boring filing cabinets a new life.

One of my favorite wallpaper resources is Spoonflower. They allow you to upload your own pattern if you can’t find what you like and they will turn your print into whatever you wish. A wallpaper, an adhesive decal, fabric, or even wrapping paper!

So I am papering over all those cringing thoughts about wallpaper and its bad rap. It is truly a perfect way to add some glam in any space. The days of flowers and birds have flown the coop and pretty paper is here to stay.

lisasig


Posted in abode, diy | Tagged | Leave a comment

pecan caramel brownies

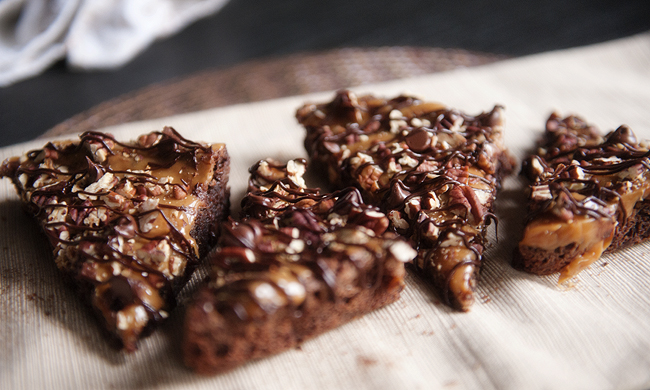
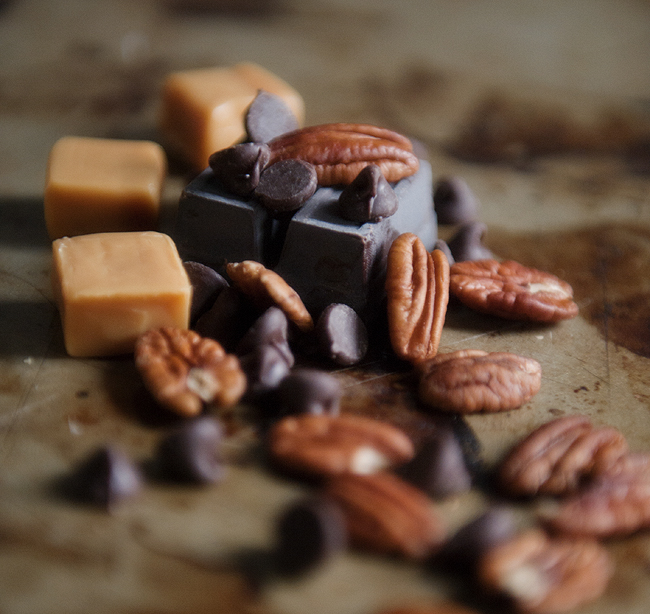
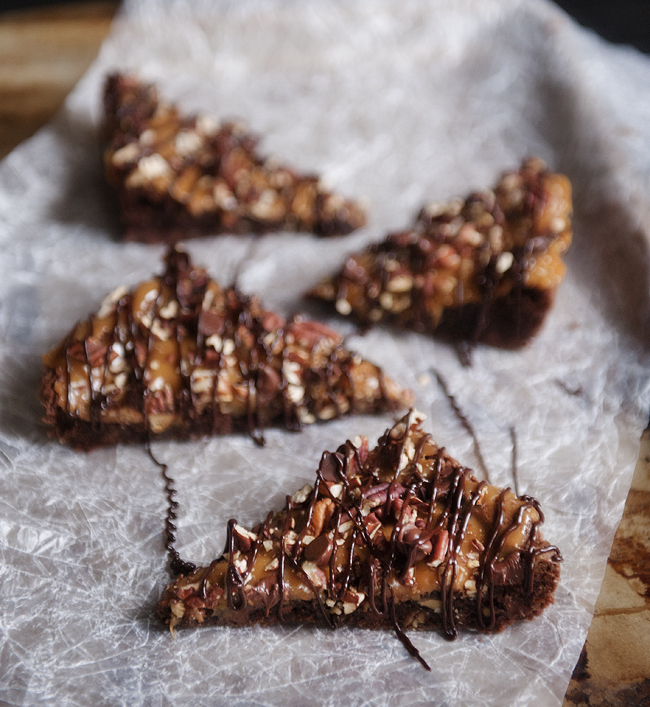
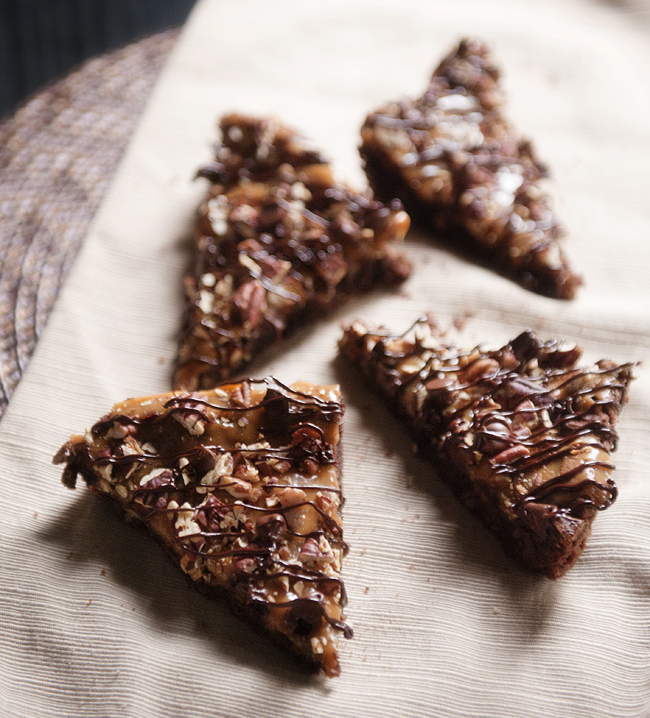
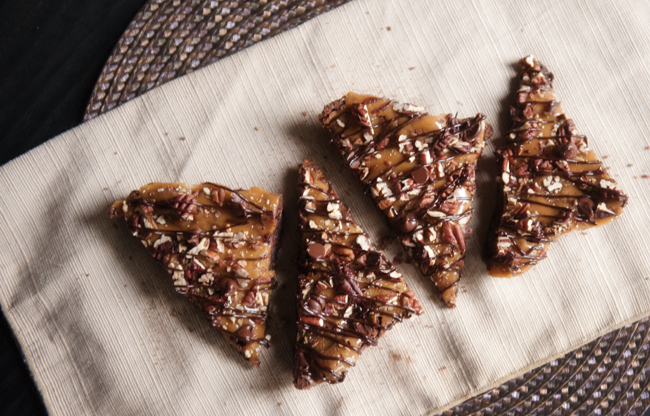
Brownies seem to be getting a bad rep lately, with the spotlight being on their skinnier sister- blondies.  People are getting really fancy with them, using browned butter and unconventional add-in’s- and okay, I totally get it, they are really good.  But these old school brownies are pretty darn good too, and after all, there is something to be said for the original.  There is nothing blonde about them.

pecan_caramel_brownies_2

These have been sweetening up my counter this week, in a house filled with moving clutter.  *Sigh*.  Seriously, I will be one happy girl when we get moved and settled.  There are boxes stacked in every corner, yet somehow it looks like we have packed nothing.. how does that happen!?  If I had any packing or moving tips to share with you, I certainly would, but it turns out I am not very good at it myself.  My only tip would be this; make yourself some brownies.  They will make everything better when you walk into your clutter filled kitchen, I promise.

pecan_caramel_brownies_1

pecan caramel brownies
 
Prep time
Cook time
 
Serves: 8-16 brownies, depending on how they are cut
Ingredients
  • ½ cup unsalted butter (1 stick)
  • 3 ounces unsweetened chocolate, chopped coarsely
  • 1 cup sugar
  • 2 eggs
  • 1 teaspoon vanilla extract
  • ⅔ cup all-purpose flour
  • ¼ teaspoon baking soda
  • 1 cup chopped pecans, toasted
  • 1 cup semi sweet chocolate chips
  • 20 vanilla caramels, unwrapped
  • 1 tablespoon milk
Instructions
  1. In a medium saucepan heat and stir butter and unsweetened chocolate over low heat until melted and smooth. Remove from heat, and let cool.
  2. Preheat your oven to 300F. Line a baking sheet with foil, and evenly spread chopped pecans on it. Toast the pecans for about 10-15 minutes, stirring a few times, until toasted and fragrant. Remove and set aside.
  3. Up your oven temp to 350F and line an 8x8 baking dish/pan with foil, extending the foil over the edges of the pan. Grease the foil, and set the pan aside.
  4. Stir sugar into the cooled chocolate mixture. Add eggs, one at a time, beating with a wooden spoon after each addition just until combined. Stir in the vanilla extract.
  5. In a small bowl, whisk together the flour and baking soda. Add flour mixture to the chocolate mixture, stirring just until combined. Stir in ½ cup of the pecans and ½ cup of the chocolate chips. Spread the batter evenly in your prepared 8x8 pan.
  6. Bake for 30-35 minutes, until you can remove a toothpick from the center without seeing any batter on the toothpick. Let cool on a wire rack.
  7. In a small saucepan, combine caramels with your 1 tablespoon of milk over medium-low heat until melted and smooth. Spread caramel over brownies, and immediately sprinkle remaining pecans and chocolate chips over the top. Let stand for two hours before cutting.
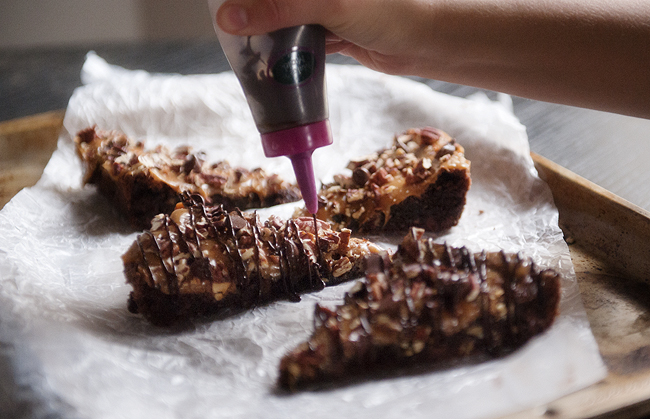
  8. To top them off, use a small saucepan to heat remaining chocolate chips over low heat until melted and smooth. (Add in a dab of butter if chocolate becomes to thick.) Drizzle the melted chocolate over the top of the brownies , before or after cutting them, whichever you prefer.
  9. Using the foil overhang, pull the brownies from the pan and cut to serve.

pecan_caramel_brownies_6
pecan_caramel_brownies_5
pecan_caramel_brownies_4
pecan_caramel_brownies_3
shansig

Posted in recipes, something sweet | Tagged | 1 Comment

diy winter hair mask

I’ve said it before but I’ll say it again- I seriously love coconut oil.  It’s health benefits are through the roof and I literally feel like you can put it anywhere.  I lather it on my face when I get out of the shower and use it as moisturizer, I use it for make-up remover, I bake and cook with it, throw it in smoothies, you name it.  Regular shampooing and styling tool use strip your hair of its natural oils, and sometimes your strands just need a little oompf.  This hair mask is awesome for loading your hair with moisture for the cold winter months ahead!  Not to mention, it smells yummy!

hair_mask_2

Here’s what you need:

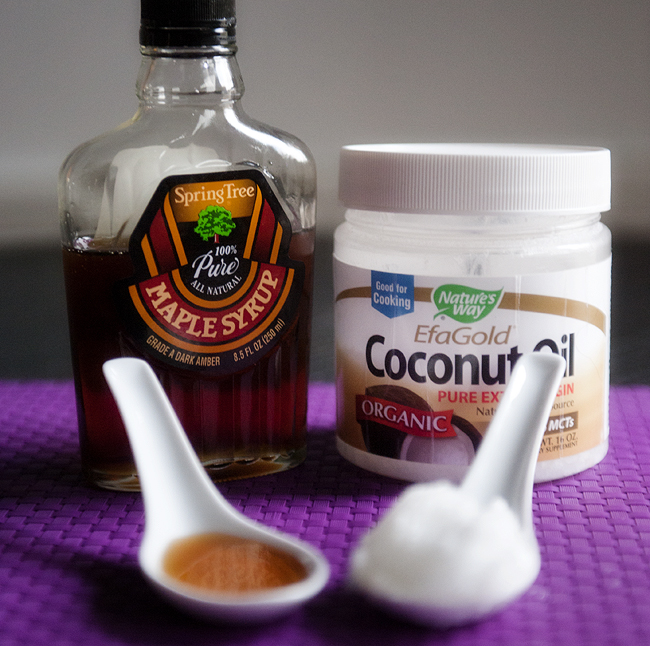
2 tbsp pure maple syrup

2 tbsp coconut oil

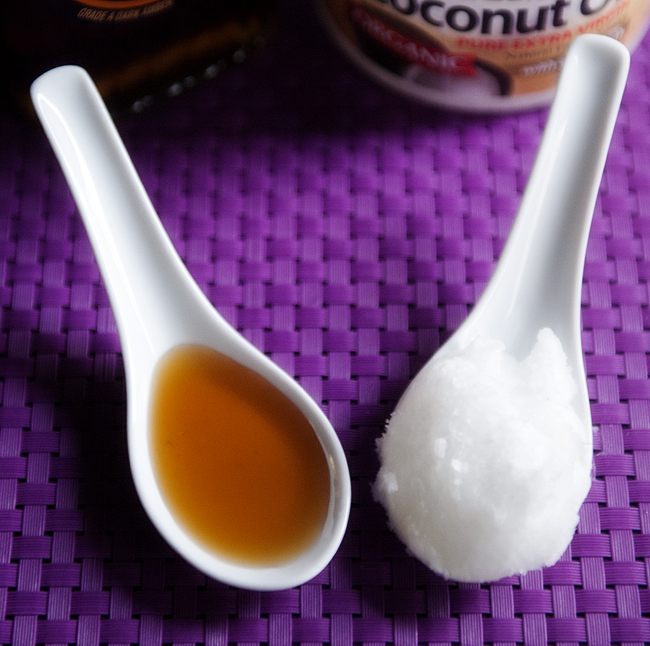
Using a small bowl, mix equal parts coconut oil and maple syrup- depending on your hair length and thickness. I used about 2 tbsp of each.  Once you have a jelly-like consistency, lather it all over your dry hair, and twist it up off your shoulders.  (Don’t eat your hair.  Prepare yourself with an oatmeal cookie on hand or something- it seriously smells SO good.)

hair_mask_1
Leave it on for a good hour or so, and then wash and style your hair as usual.  It should leave your locks shiny and super soft!

Happy masking!

shansig


Posted in beauty, diy, hair | Tagged | 1 Comment

fall uniform

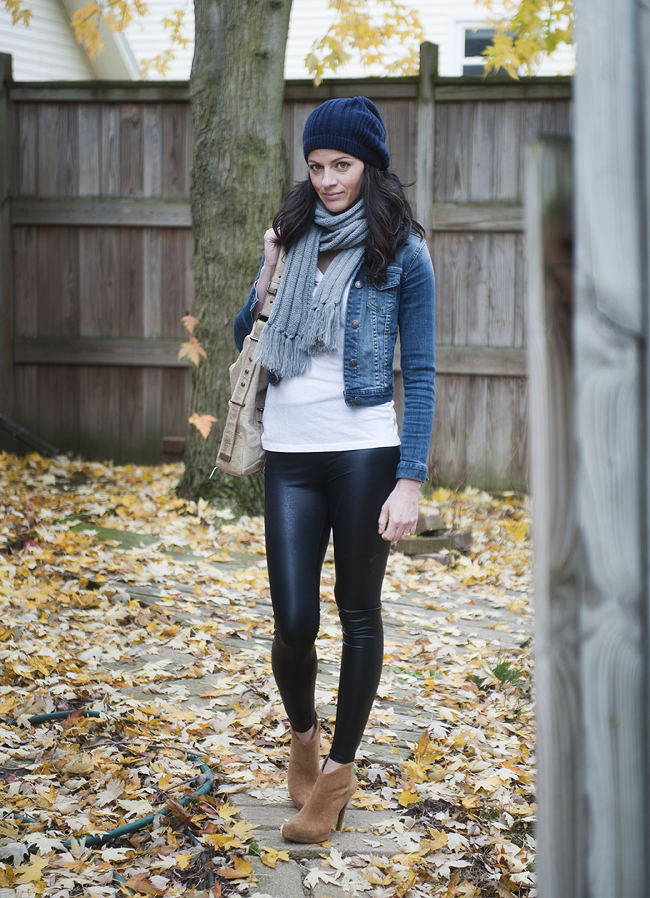
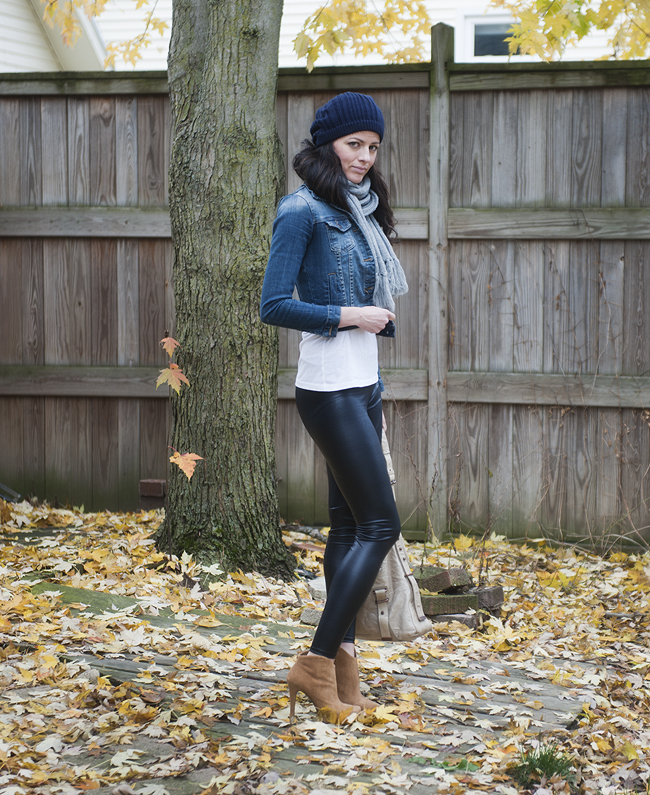
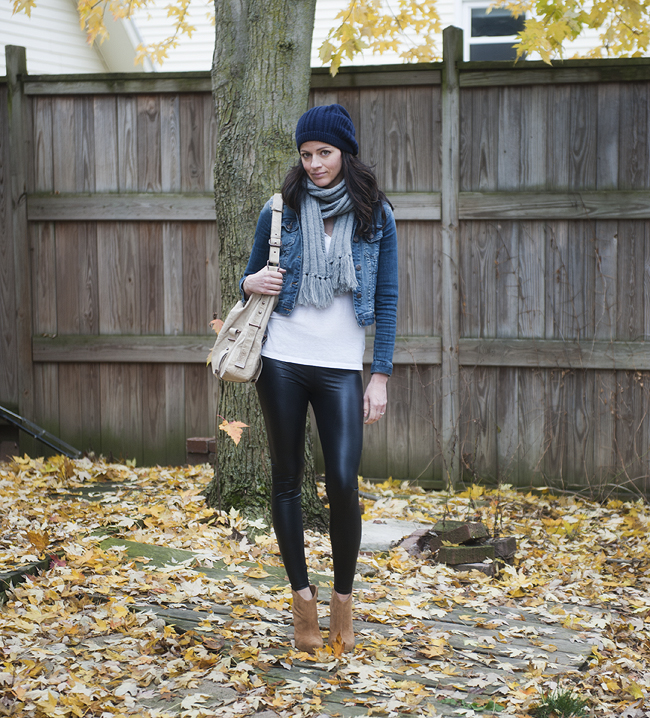
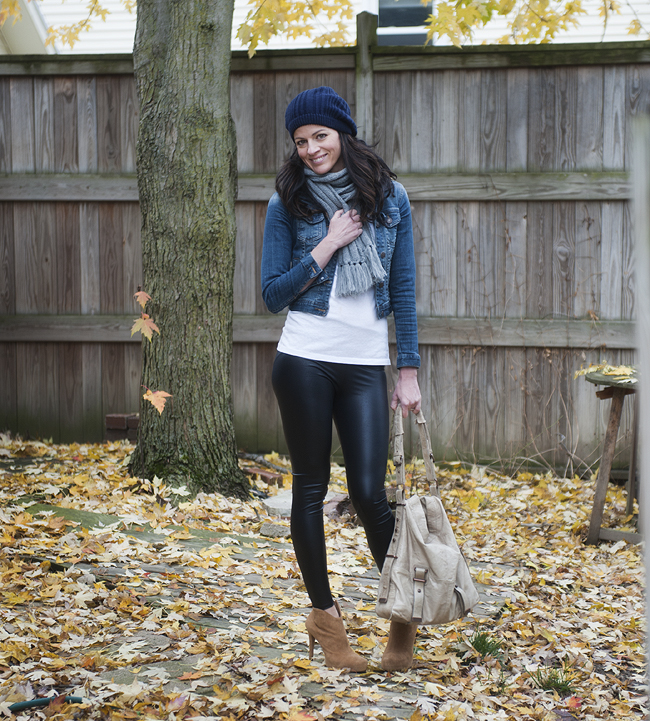
fall_uniform_1When it comes to easy chilly weather wear nothing beats a tee with leggings and boots topped off with a jacket, hat and big scarf.  It’s my uniform this time of year because of it’s mix and match ease.  For the longest time jeggings were my go to choice but this season (much to my surprise) I have been obsessed with liquid leggings.  A little bit rock and roll, a little bit cat woman these are fun to wear and easy on the budget.  They are the new edgy “black stretch pant” and if you don’t own a pair yet I highly suggest you go try some on.  You’ll want to live in them, and your significant other won’t mind one bit.

fall_uniform_2 fall_uniform_3 fall_uniform_4 fall_uniform_5|WEARING|Forever 21 faux leather leggings/Old Navy v-neck tee/jean jacket similar/beanie similar/scarf similar/Gianni Bini booties/taupe tote similar

brandyjsig


Posted in outfits, style | Tagged | 1 Comment